But get the permits we did, and in February, Daniel Wolf Construction began digging the foundation and doing the grading on the site. Concrete pouring began in late March/April. Here are pictures of the grading and foundation work:
|
|
|
|
|
|
|
|
|
|
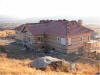
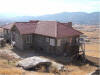
In July, 2006, after much searching and the purchase of another plot of land on which we decided NOT to build a house, we came across a 2.5 acre plot on Fir Drive in the Oak Knolls section of greater Tehachapi. It has GREAT views of the whole Tehachapi Valley - almost 360 degrees. We purchased the land and began a search for an architect/house planner. We found a house planner named Tim Cahoon, and after numerous meetings on the land as well as discussions of our wants and needs, he began drawing up plans.
Deanie had been studying house plan books and had a basic notion of how she wanted it laid out. Tim did a good job of taking the basic ideas and turning them into a house that would work on the lot, although it did turn out to be larger than I had hoped by a couple hundred square feet. Tim had numerous shortcomings, not the least of which was his inability to use a 2D (much less 3D) CAD system for the design (he used traditional pencil on vellum), so there were numerous inconsistencies in the plans he eventually provided, creating headaches for the builder and us. His not being up to date on the county regulations, and using an engineer who refused to respond to phone calls caused a 6 week delay in getting the permits, as well.
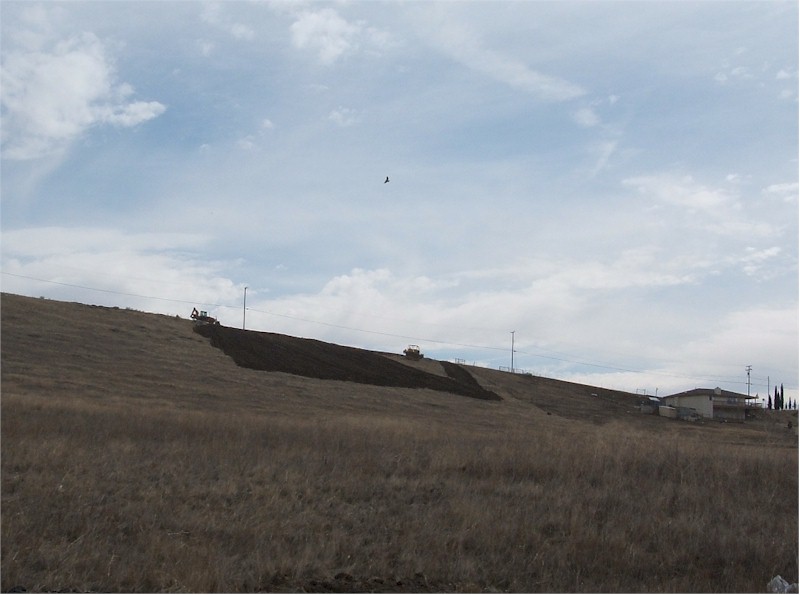
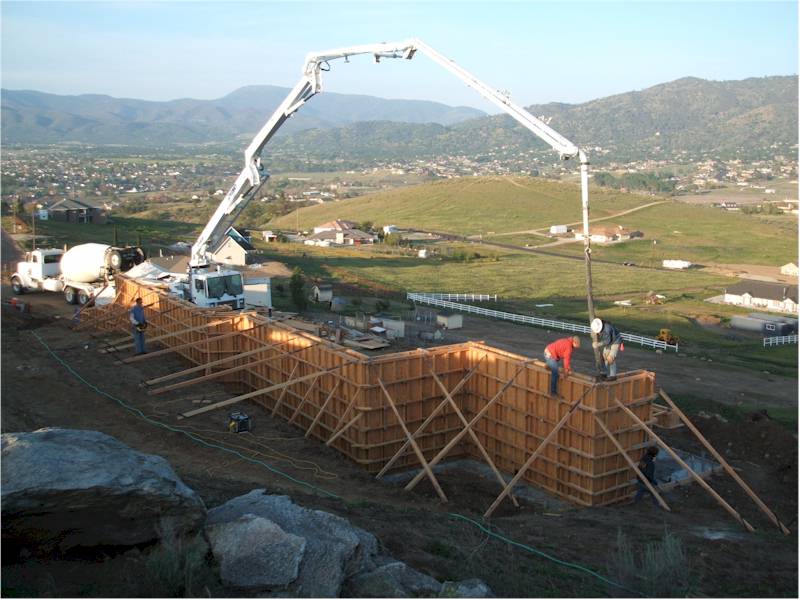
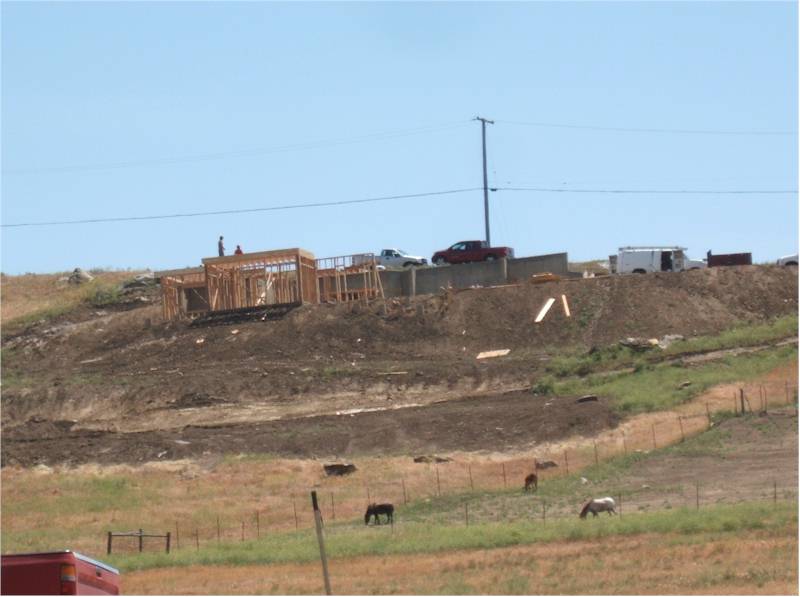
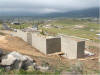
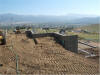
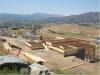
But get the permits we did, and in February, Daniel Wolf Construction began digging the foundation and doing the grading on the site. Concrete pouring began in late March/April. Here are pictures of the grading and foundation work:

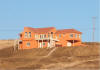
View of lot from Northwest

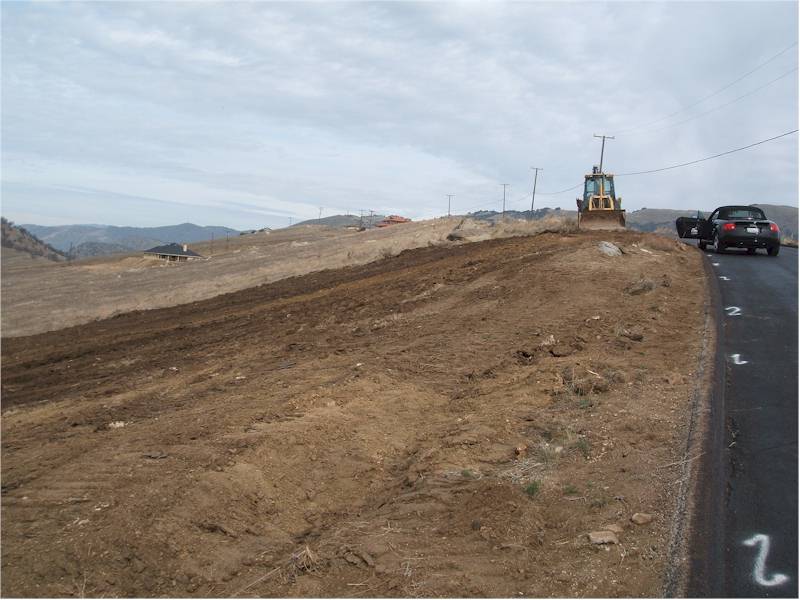
View of lot from street

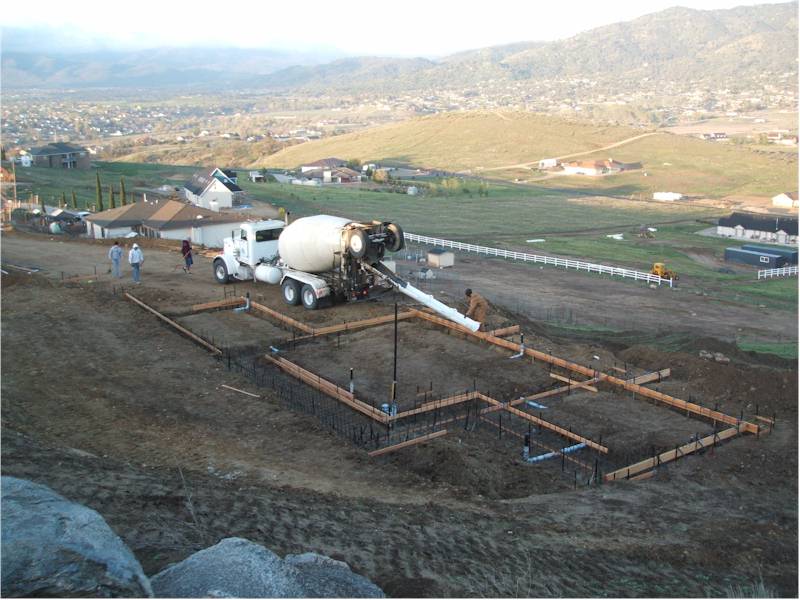
Pumper truck pouring footings
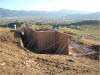
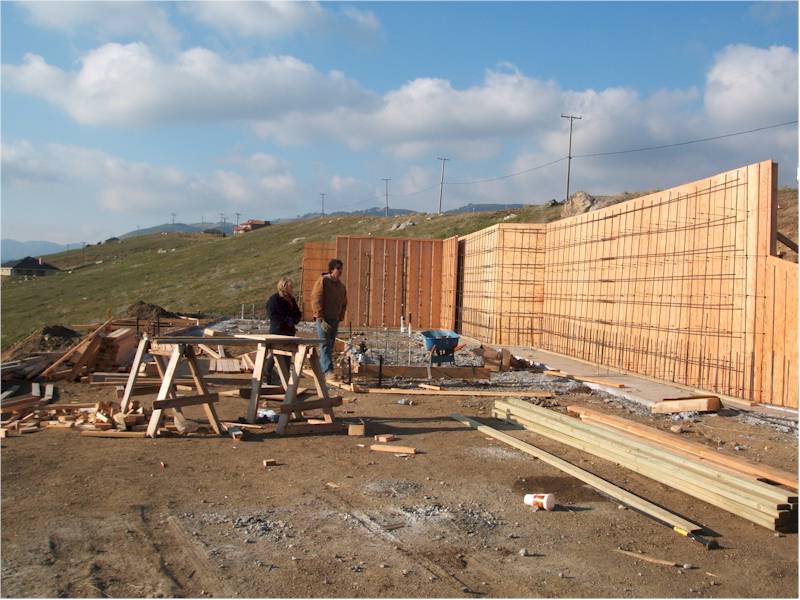
Forms for Retaining Wall
Retaining Wall Forms almost finished

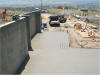
Pumper truck pouring Retaining Wall
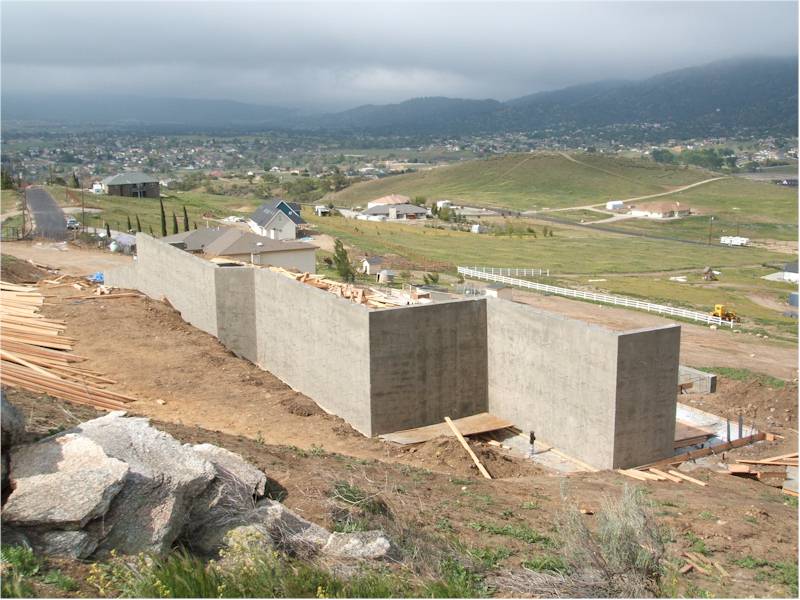
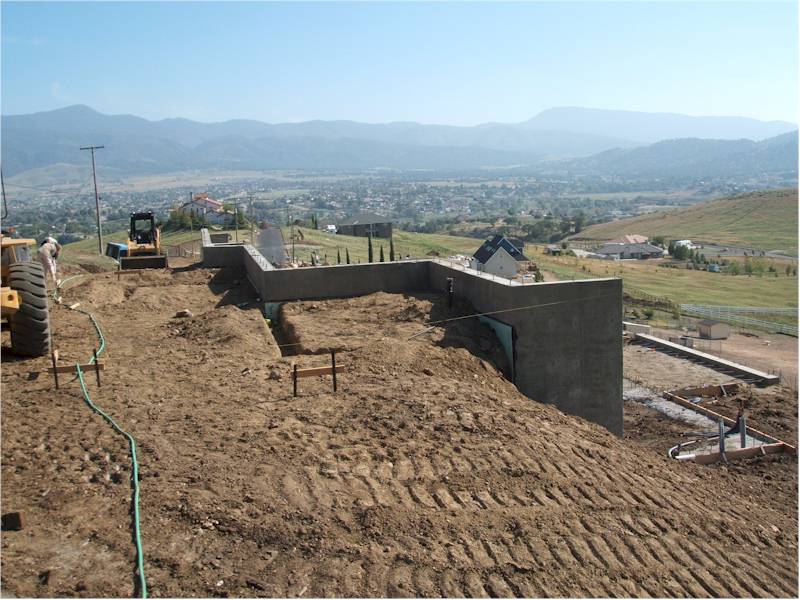
Finished Retaining Wall
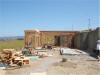
Retaining Wall after backfill of dirt at front of house

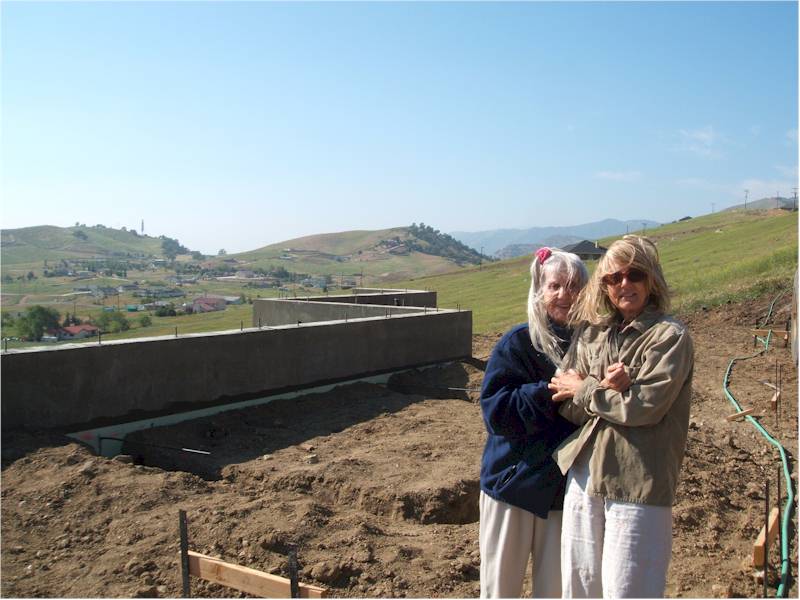
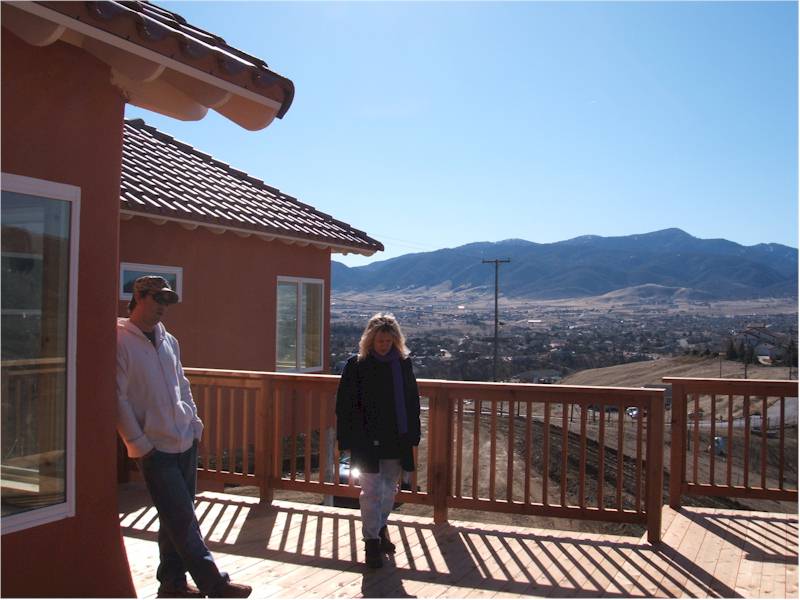
Deanie and Jane at the front of the house
Slab after pour
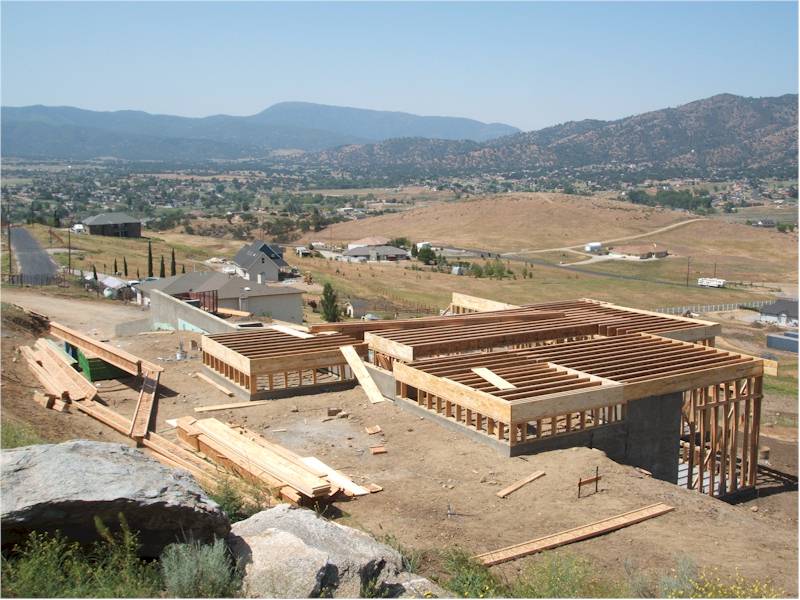
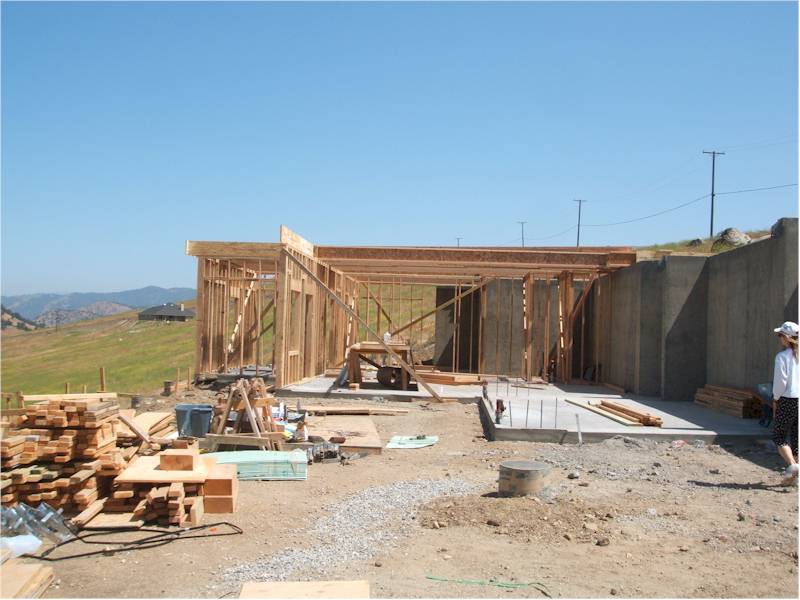
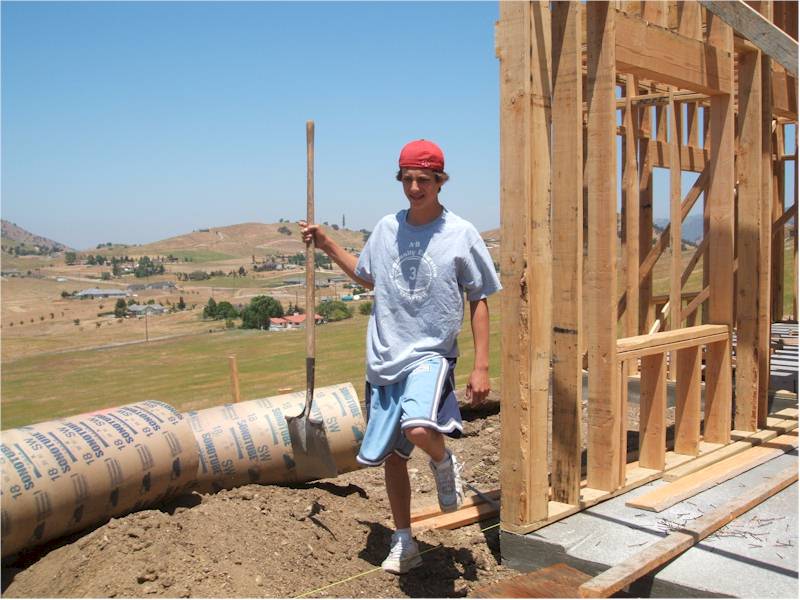
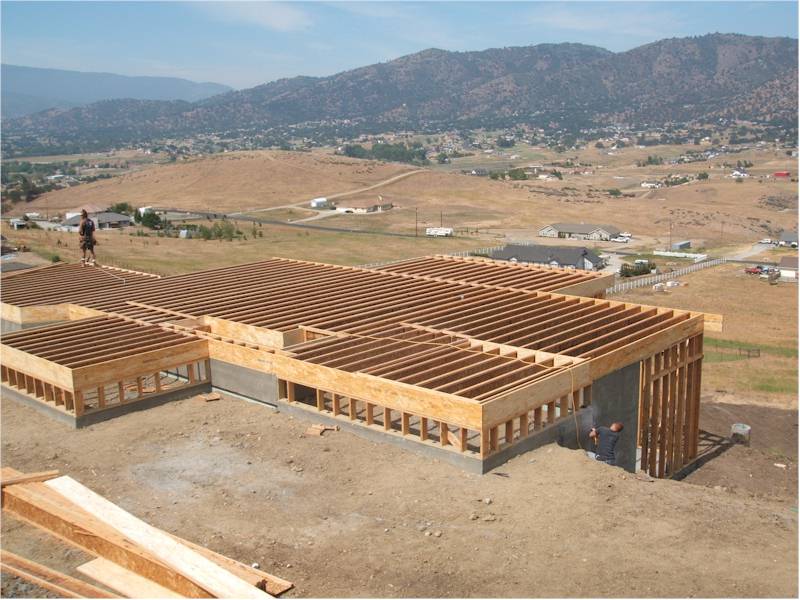
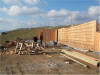
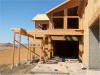
By the third week of May, the concrete work was essentially done, and the crew began framing. Starting at the bottom, they framed the rest of the basement/garage structure and put down the joists and sub-floor for the living area:

View of framing start from Southwest
Start of joist placement after basement wall completion
View toward garages
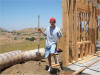
Zachary working for 1/2 day with crew
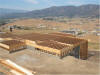
Completed living area joists

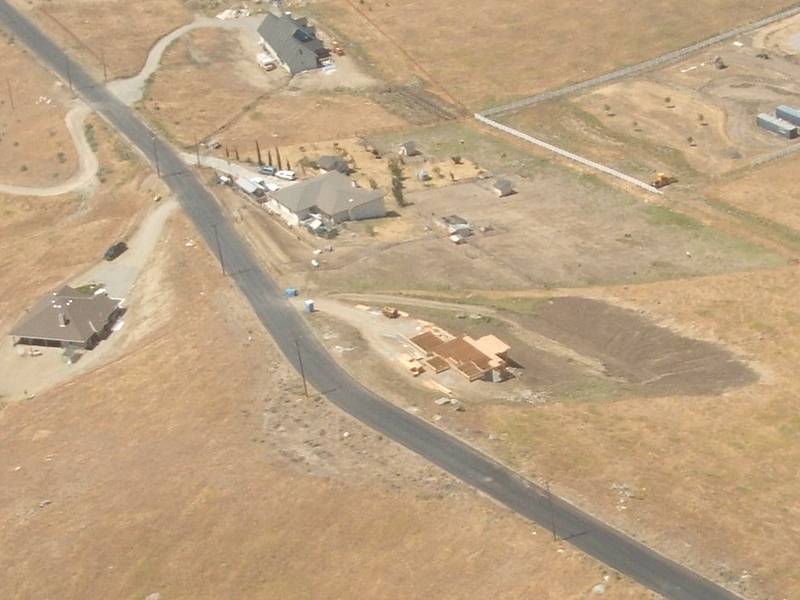
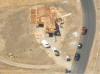
Aerial view of construction from the northeast
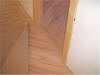
Stairs to basement wrapped around basement bathroom

Subfloor installed on joists

Us on subfloor
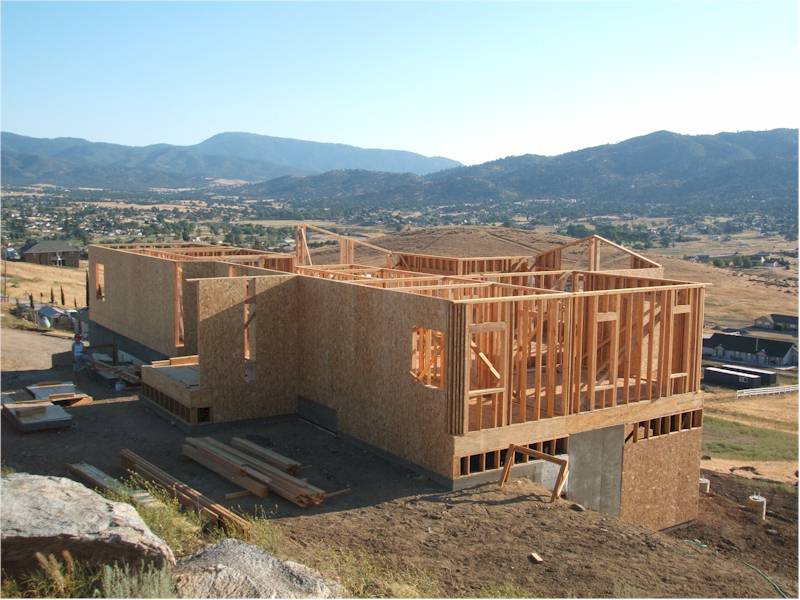
Living area framing start
View of framing from Northeast

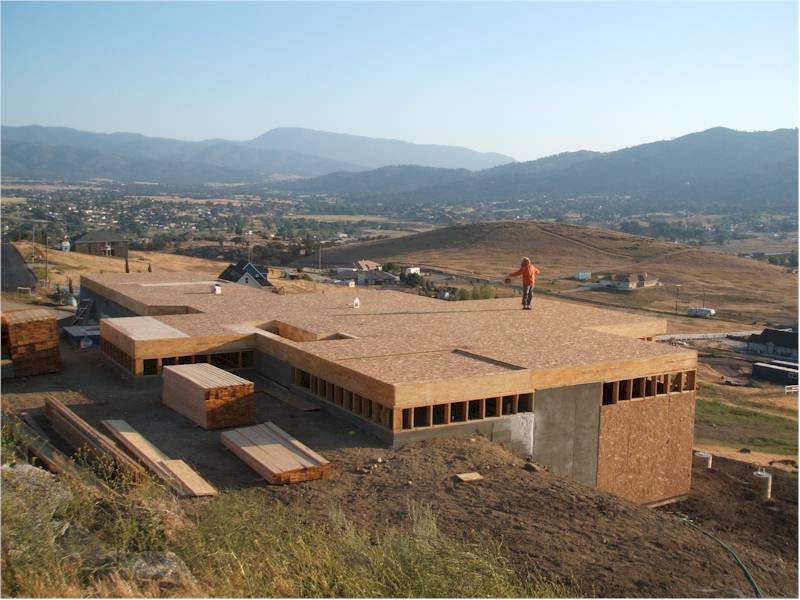
View of sheathed living area framing from northwest
Sheathed living area from northeast
View from southwest
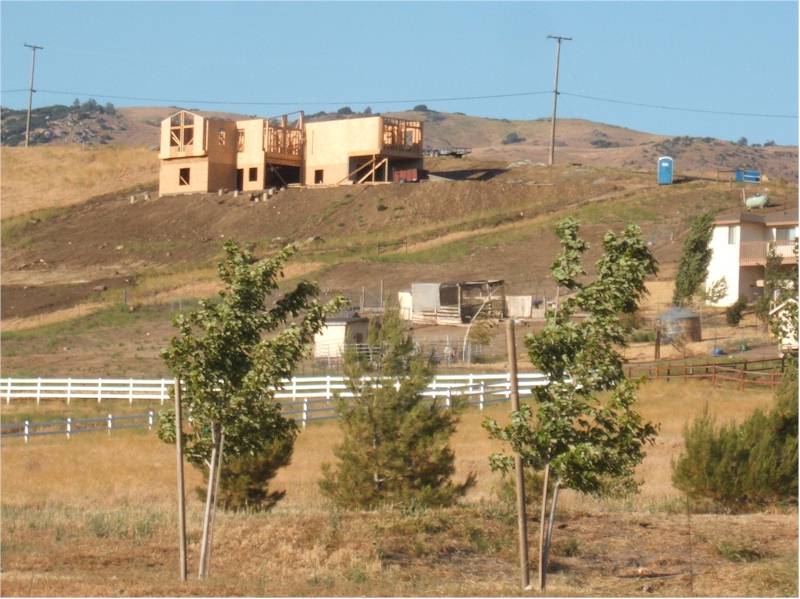
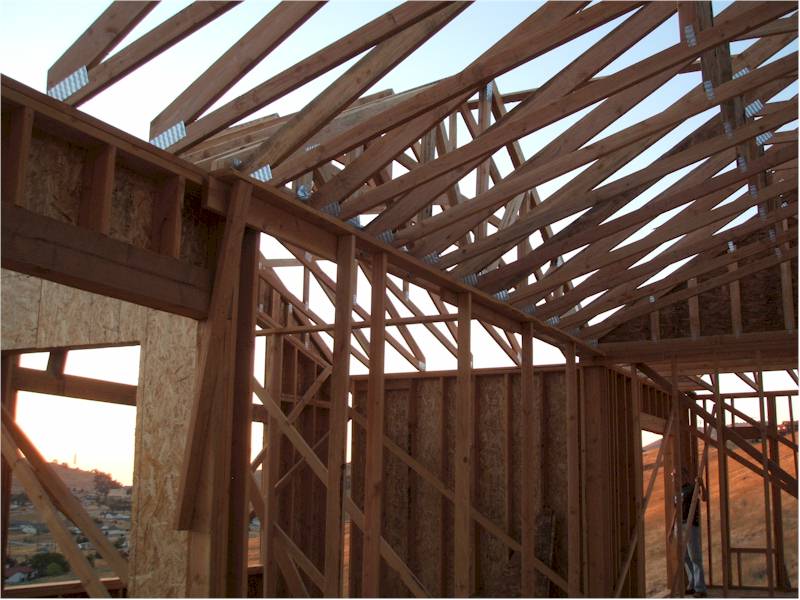
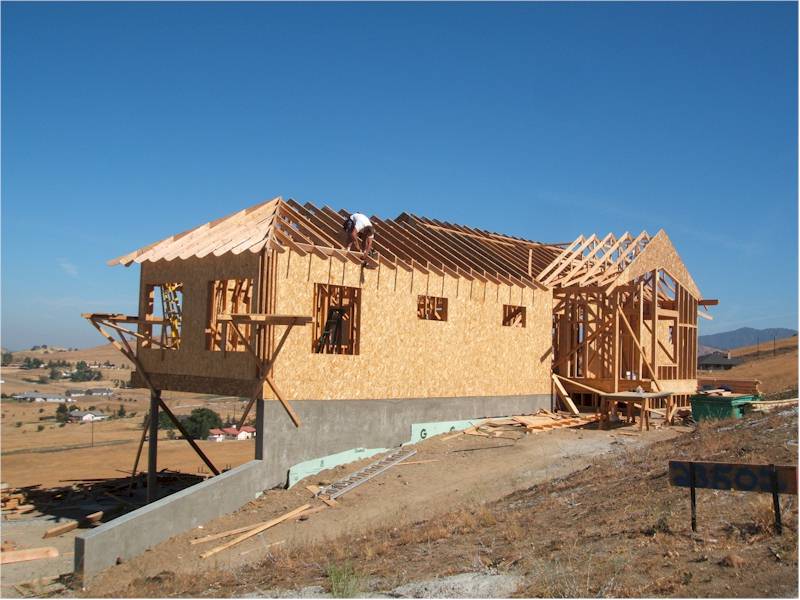
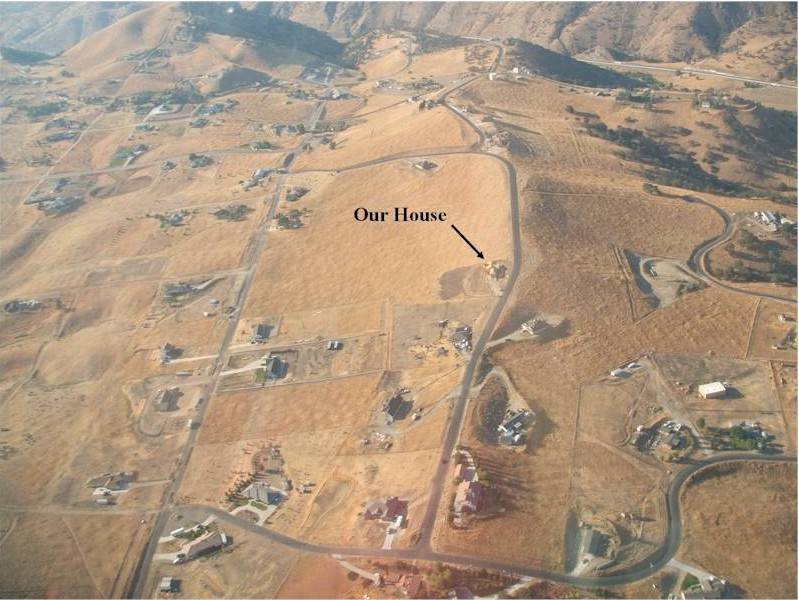
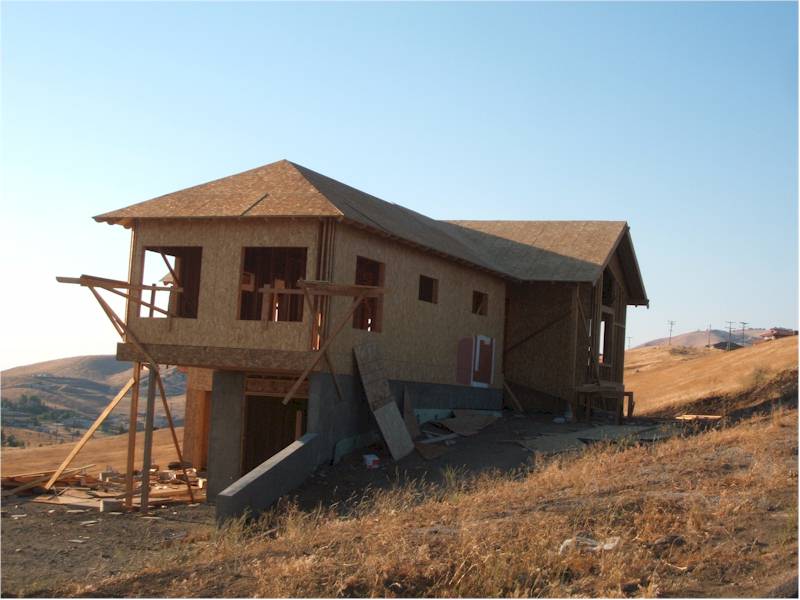
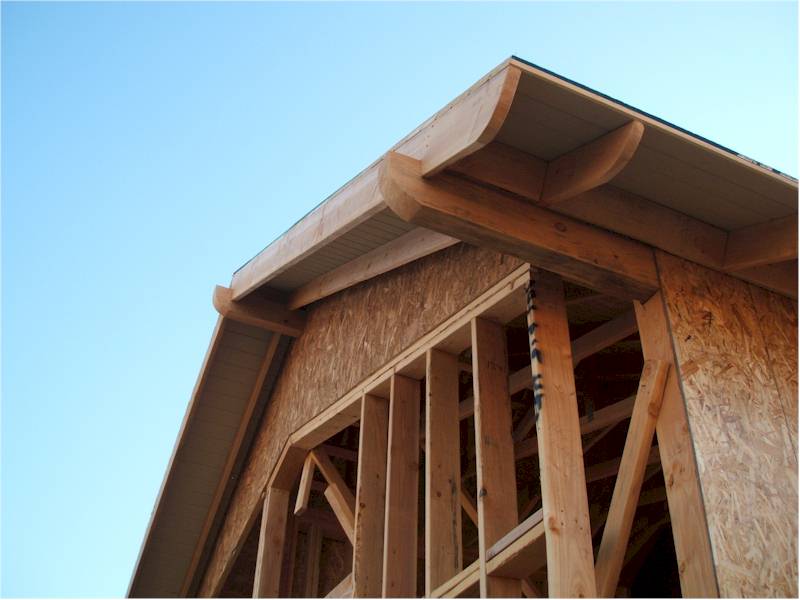
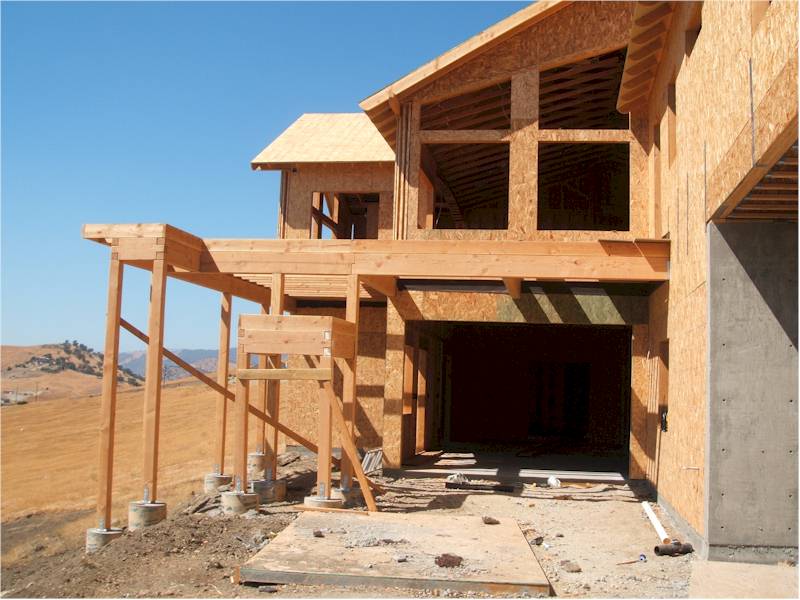
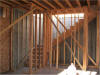
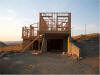
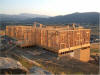
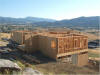
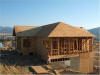
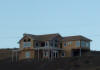
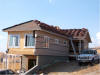
Next, the roof trusses and sheeting went on. There were a few issues with the design, but nothing catastrophic. Daniel and his crew did some VERY nice work on the rafter tails and beams at the ends of the gables.
View from up the hill on the road - trusses up, no sheathing
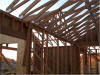
Interior View of trusses

View of front of house with trusses and some sheathing
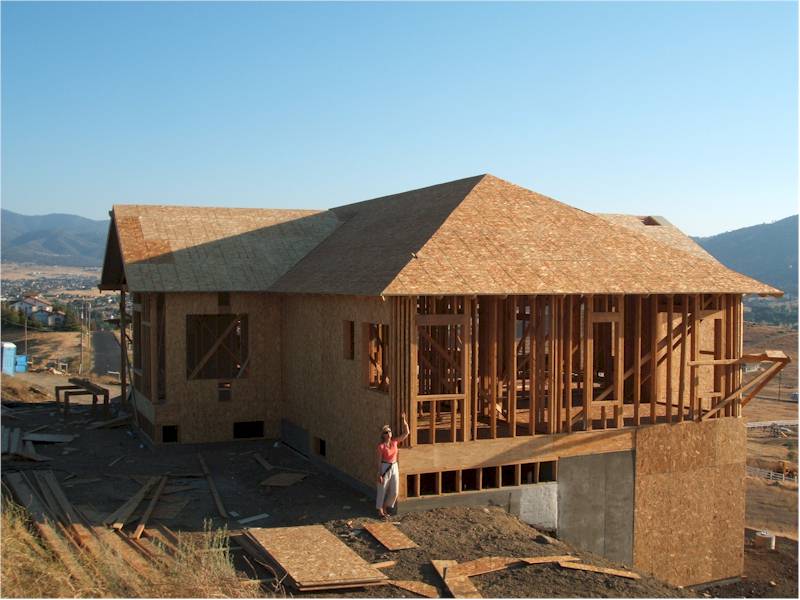
Aerial View of trusses and workers

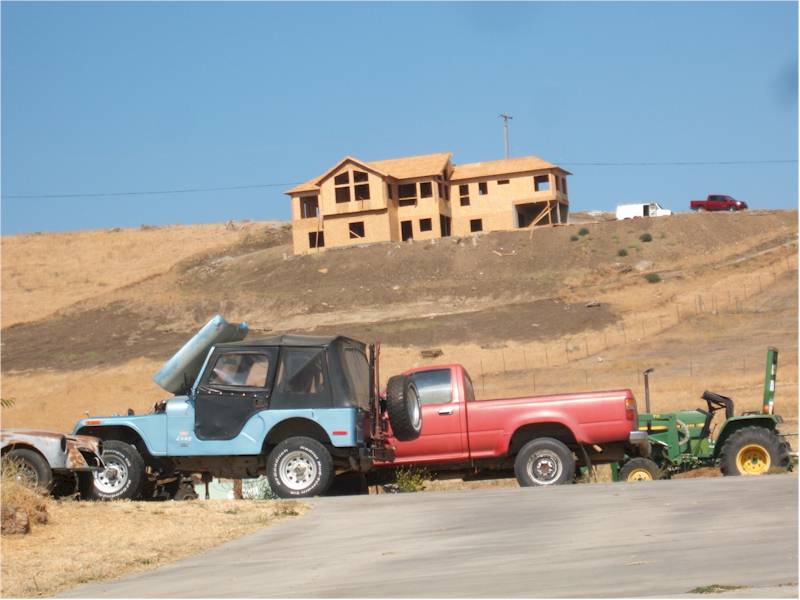
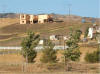
Long shot of neighborhood showing house on ridge
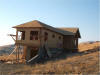
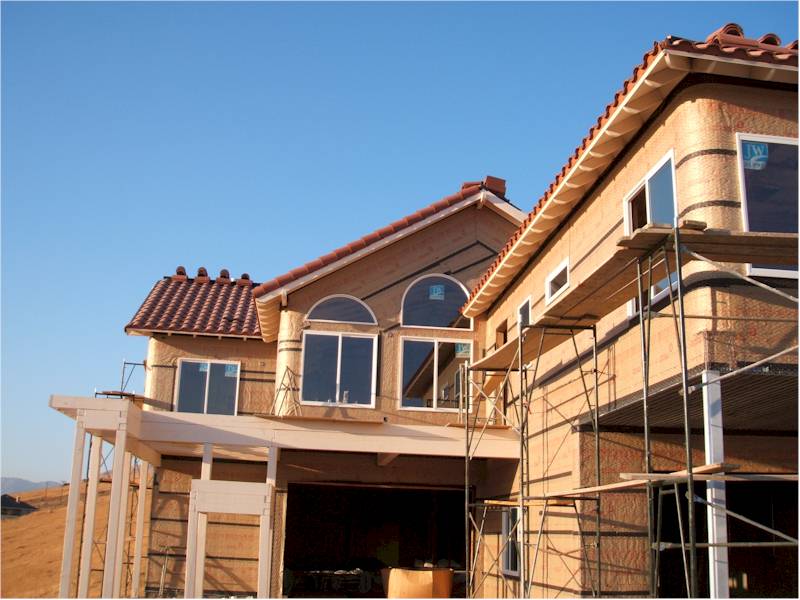
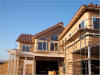
View from Southeast - most sheathing in place
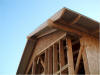
Details of beams, rafter tails and beadboard underneath. All those will be painted "sandstone"
View from northeast - all sheathing in place on roof

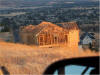
Far view from below, southwest, looking up the hill

Another west/southwest view past the neighbors vehicles. The texture of the house is starting to become visible
The next month or so was spent on the heating, AC, electrical and plumbing installation, as well as the central vacuum system. Folks were in and out of the house continually, while we waited for the windows and doors to arrive. We made a few changes to light positions and outlets, as well as correcting a few errors here and there, but generally, other than taking a long time, everything went OK.
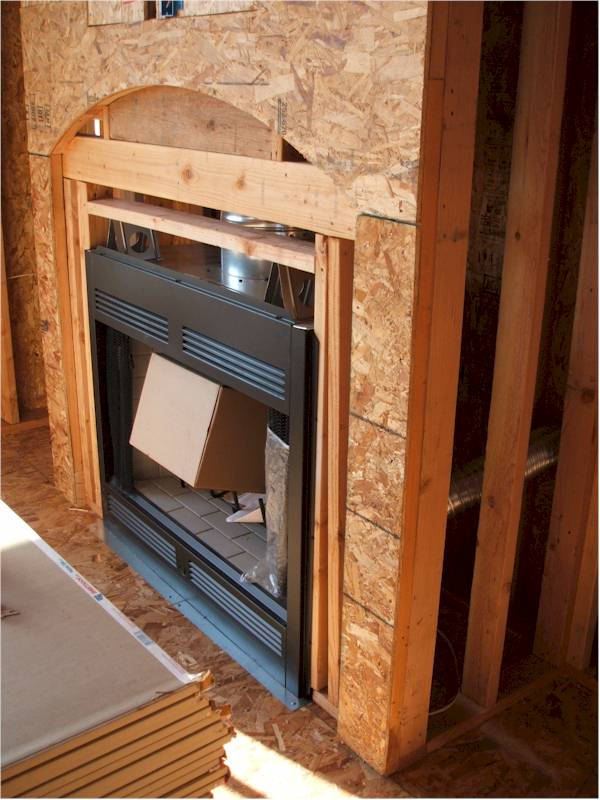
The fireplace was also installed at this stage.
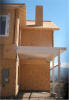
Daniel built the framework for the deck, installing posts and beams for the master bedroom deck as well as the main one. Before window installation, he painted the rafter tails, underside of the roof extension, and the deck beams/posts.
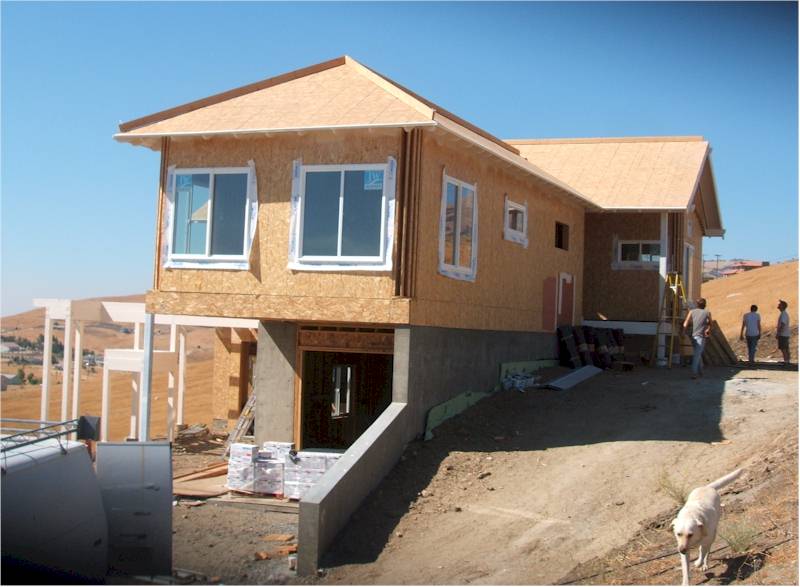
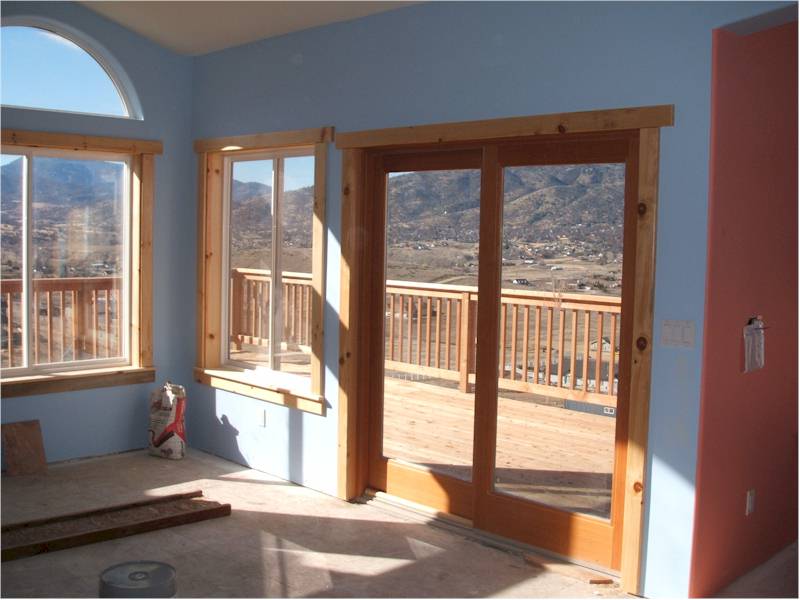
After the drywall was delivered, the windows went in. A few were incorrect and had to be replaced, but for the most part, there were no major problems. The windows look good and seem to seal very well.
Next, the roof started going on.
Deck Beams and Posts, before painting
Master Bedroom Deck, after painting
Main Deck, after painting
Rear of house showing both decks

South face - Deanies Studio
East side - Main Entrance

Northeast corner
Looking South out of Living Room
Start of Roof installation
Roof Continues / Interior:
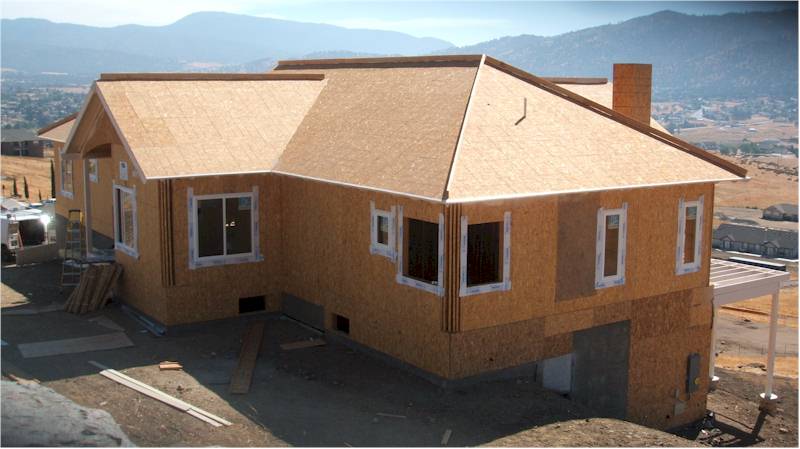
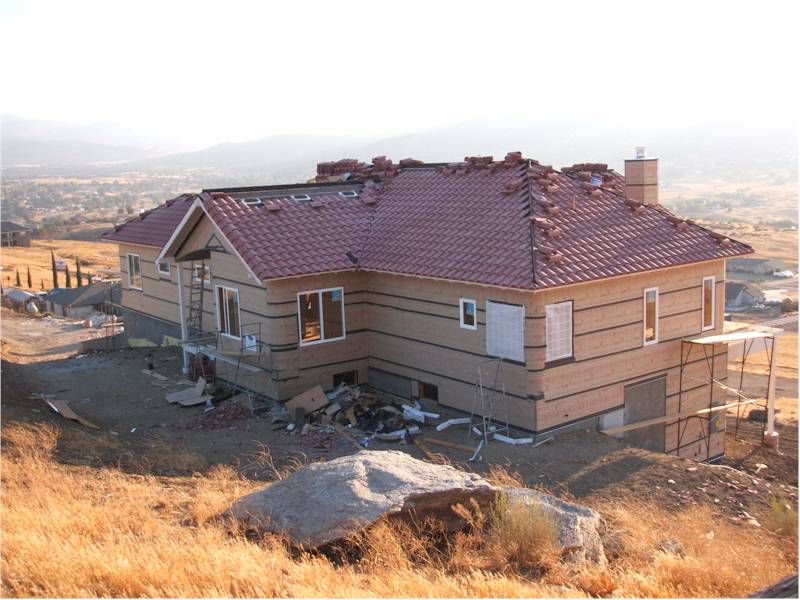
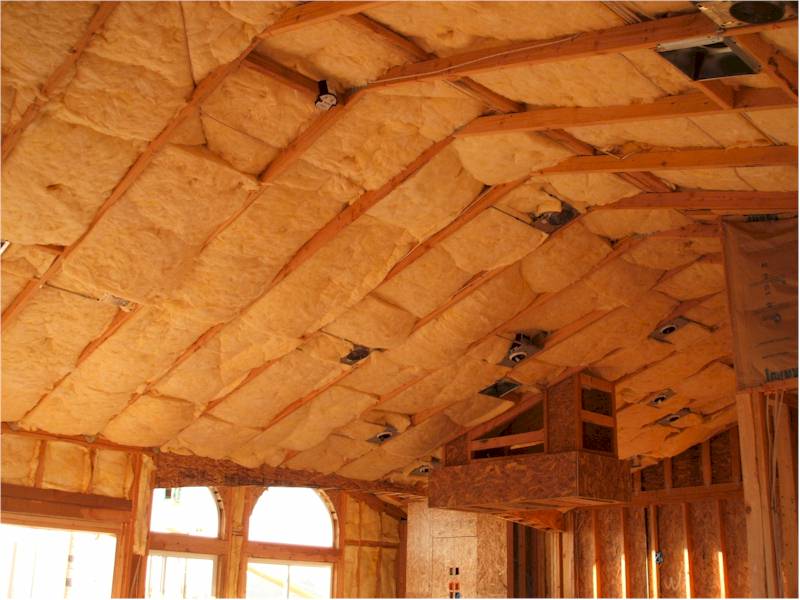
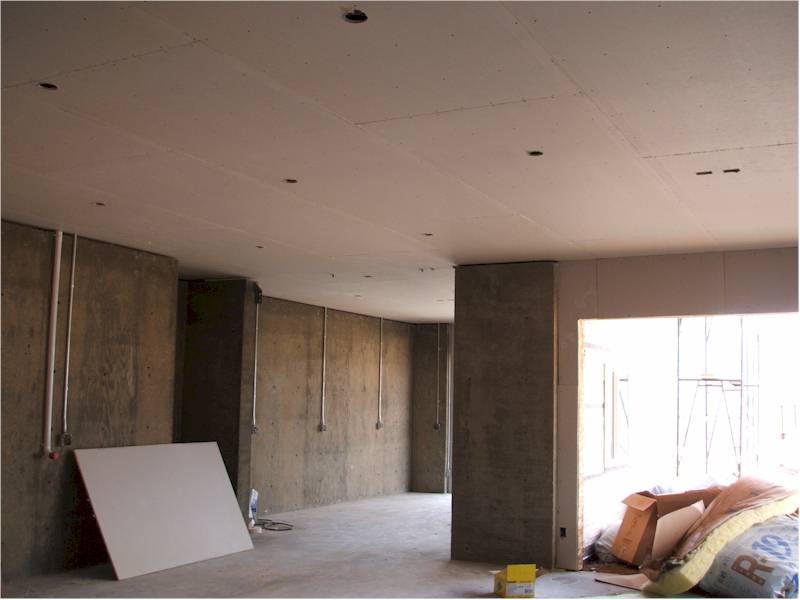
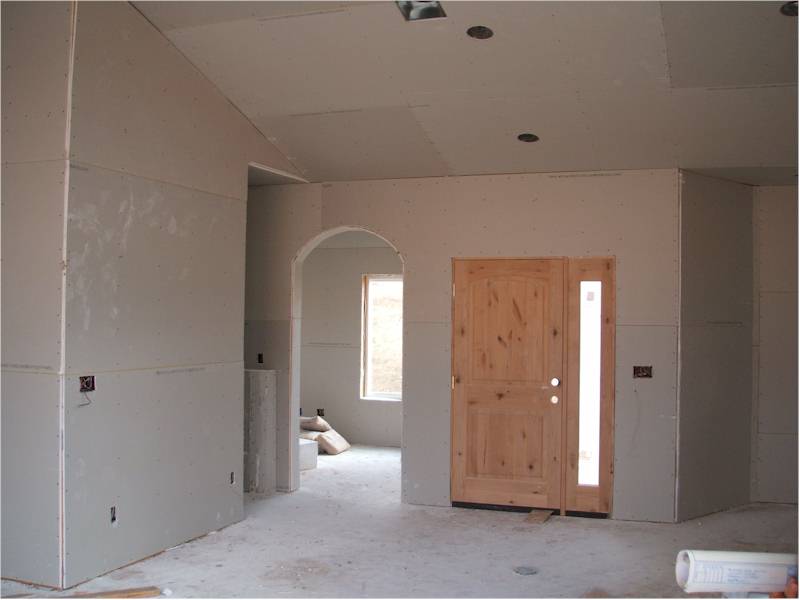
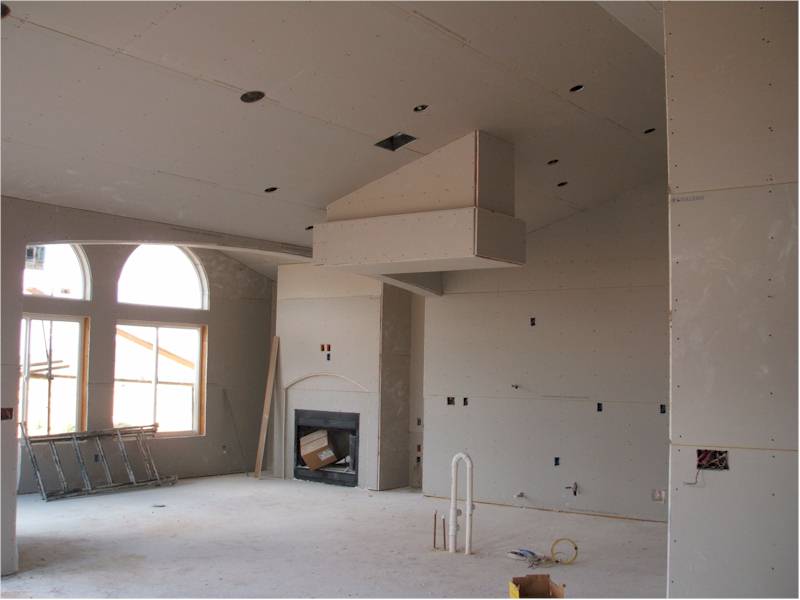
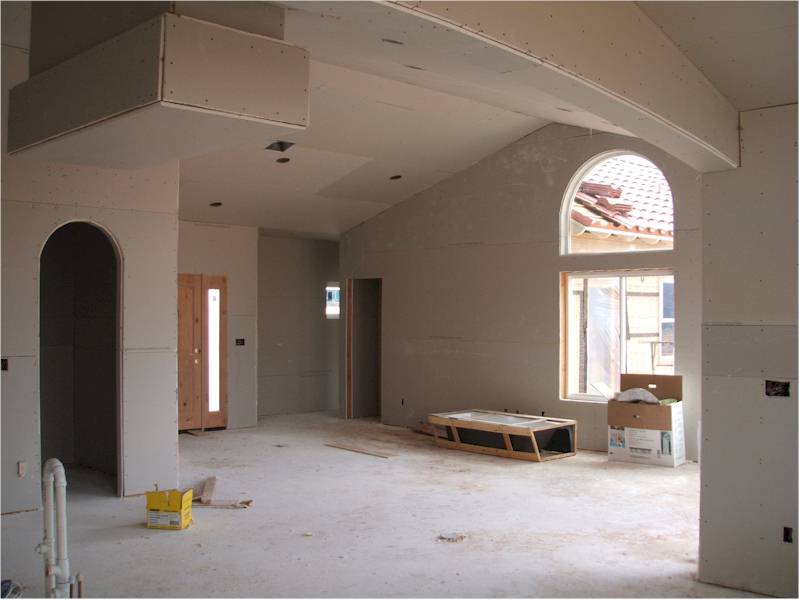
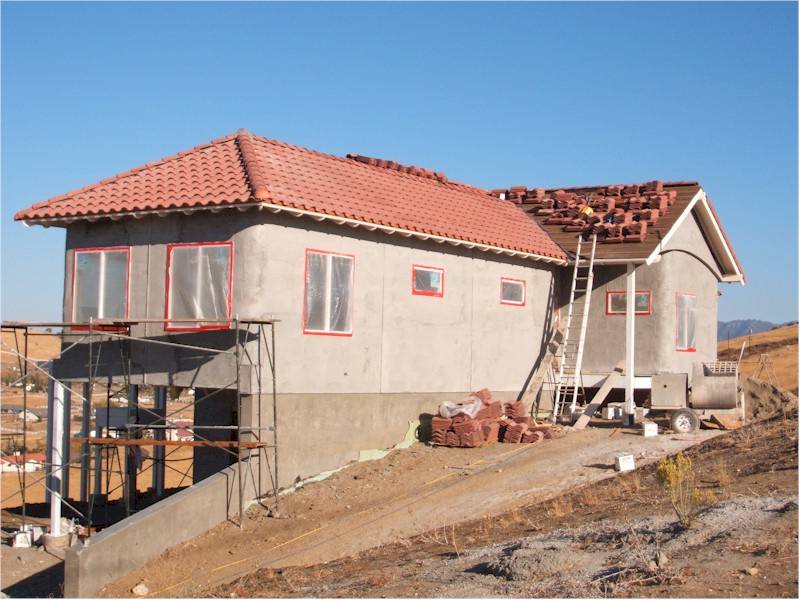
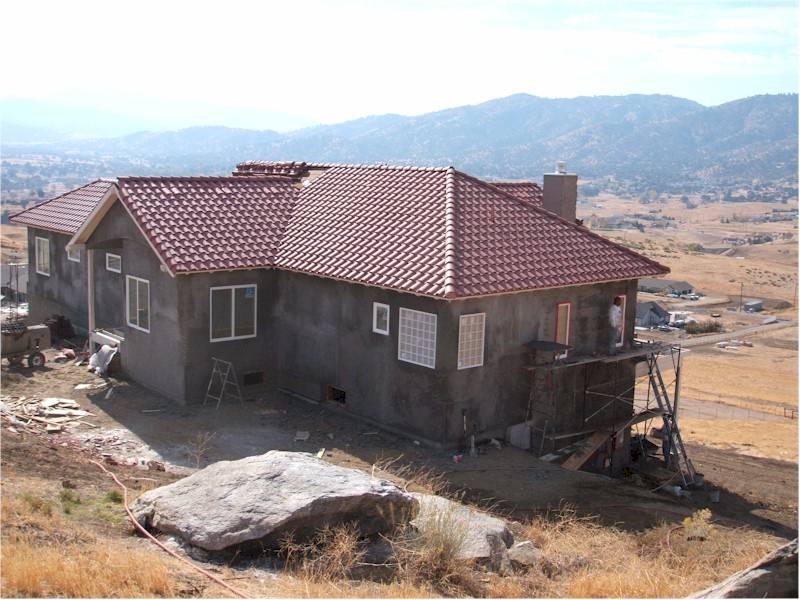
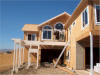
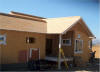
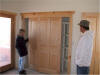
The red lightweight concrete roof tiles went on, with a few left off for further roof stucco work. Daniel installed the rest of the doors and the fireplace, the insulators installed the insulation and the drywallers installed the drywall. This brings us up to the end of September. Here's a few pictures of all that.
View of house/roof looking northwest
View of south side of house from driveway area
View of roof installation looking southwest
Roof again from south - showing stucco wire wrap
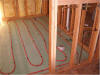
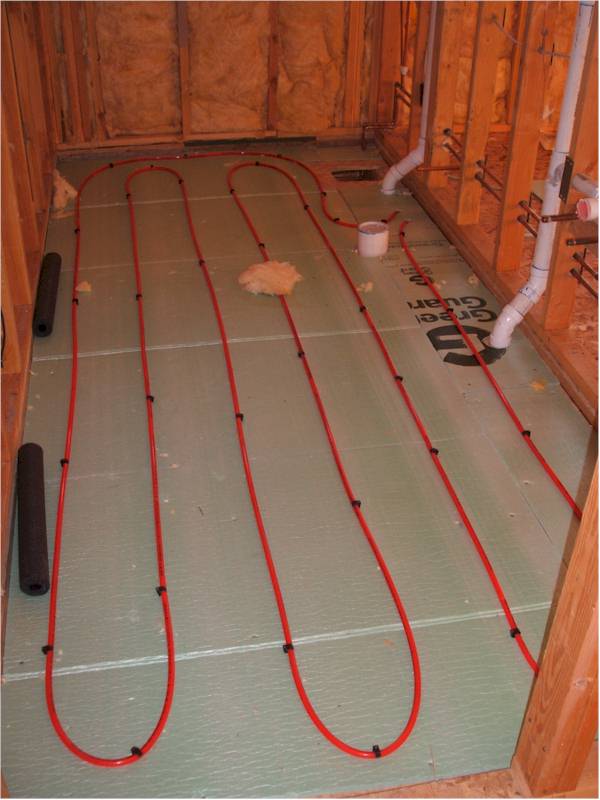
Master Bath - radiant floor heating tubing installed

Second Bathroom - radiant floor heating tubing installed
Main Hallway with insulation
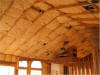
Ceiling of Great Room with insulation
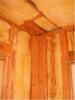
Corner of room - - insulated

Fireplace installed

Basement Ceiling drywall - looking toward garage doors
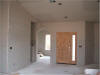
Entry Area - Drywalled

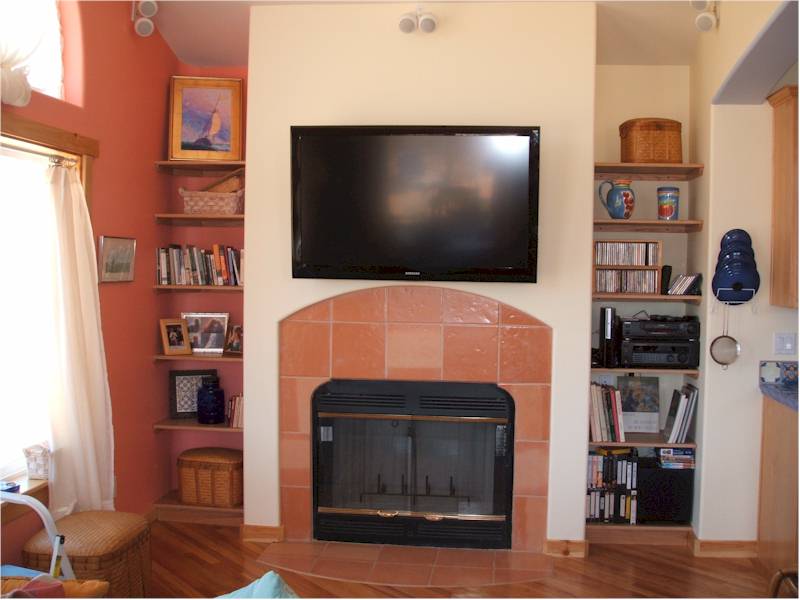
Fireplace / TV Area - Drywalled
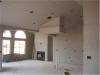
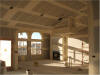
Great Room - Drywalled, looking toward kitchen and fireplace/family room
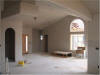
Great Room - Drywalled - looking toward entry and south wall
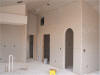
Kitchen/Laundry/Pantry Area - Drywalled
Great Room - taped after drywalling
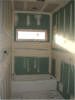
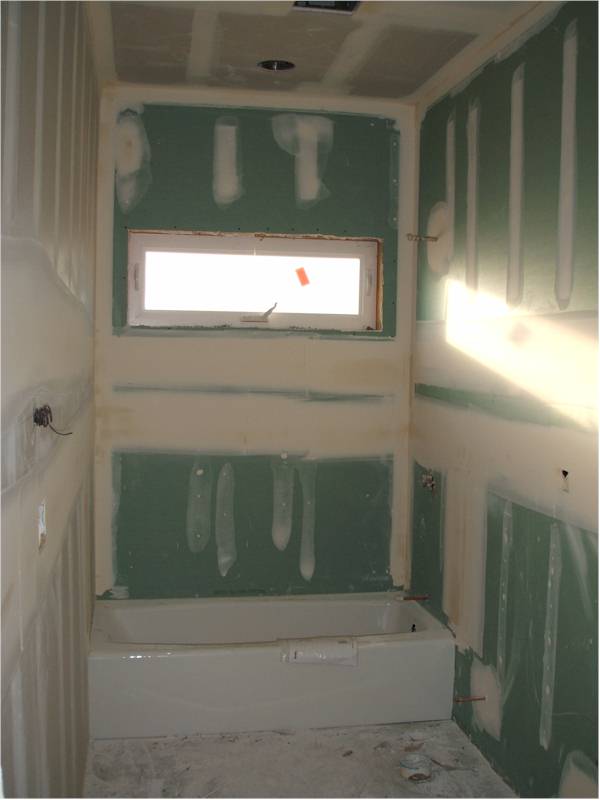
Second Bathroom - Drywalled, Taped, with tub installed
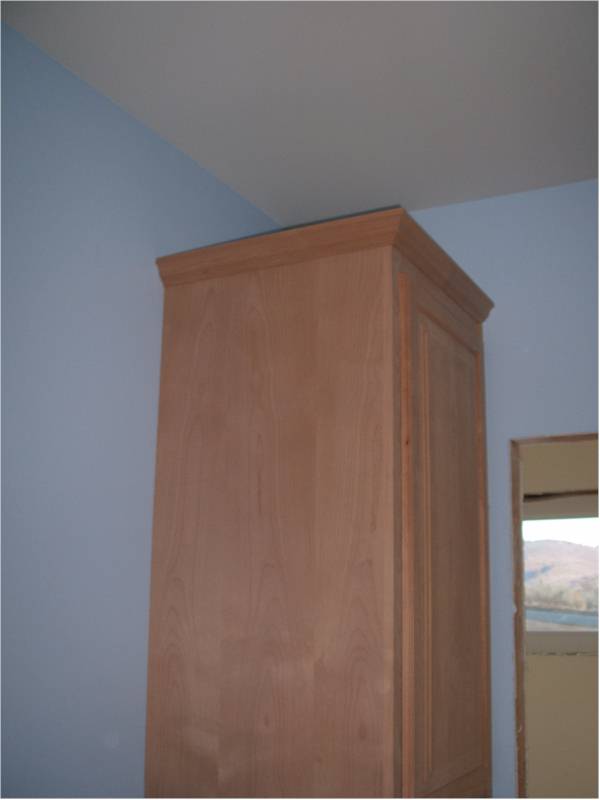
Shelves/Painting:
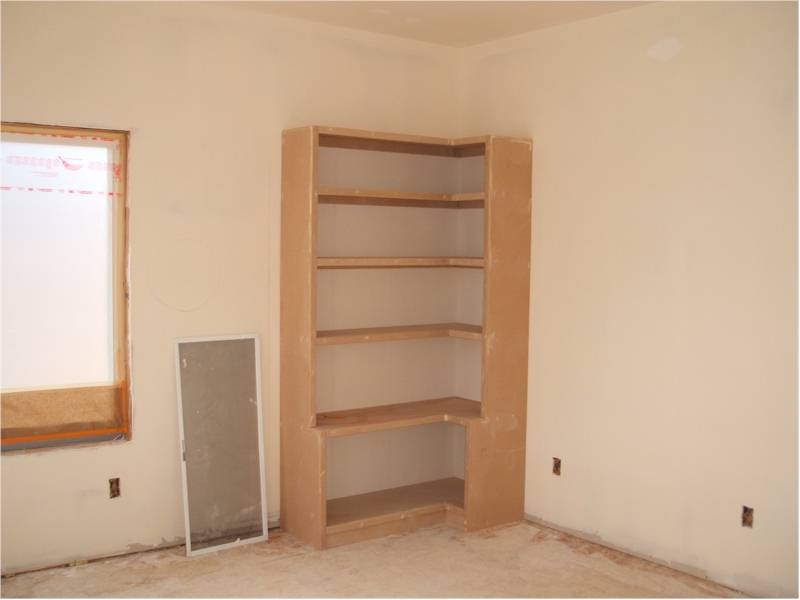
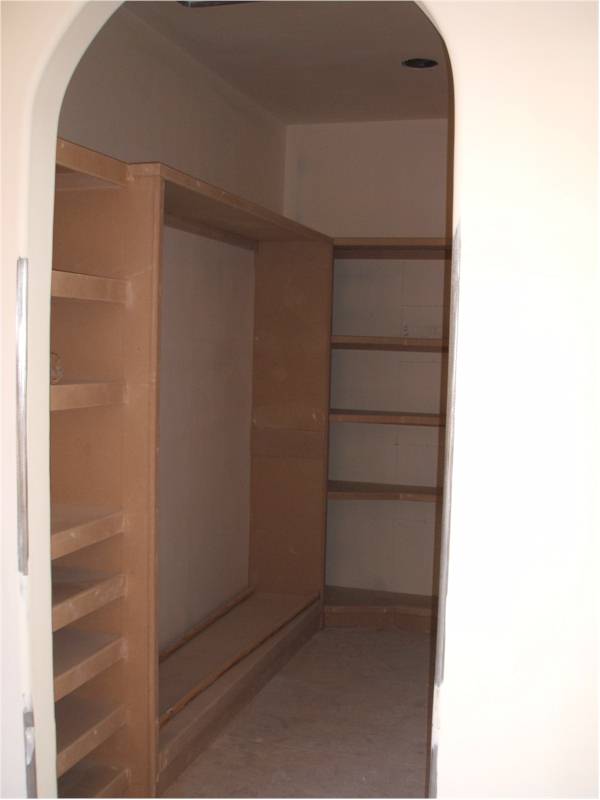
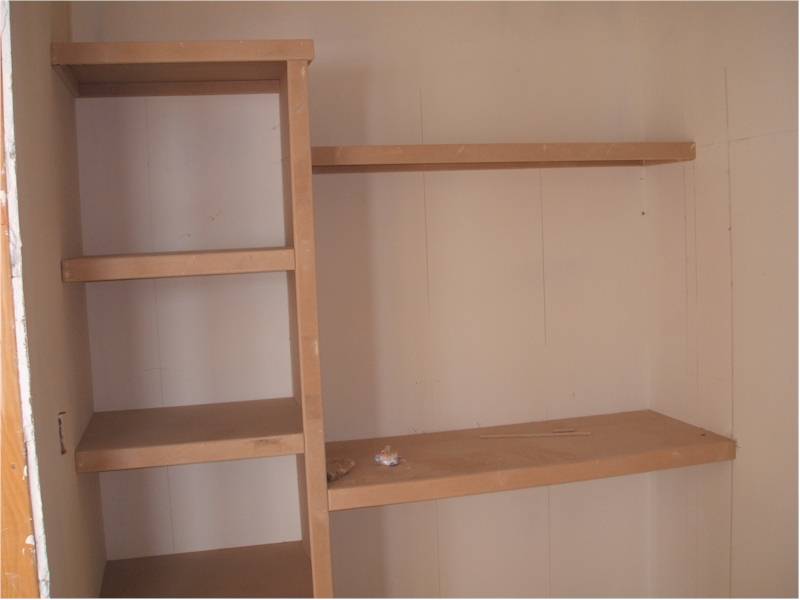
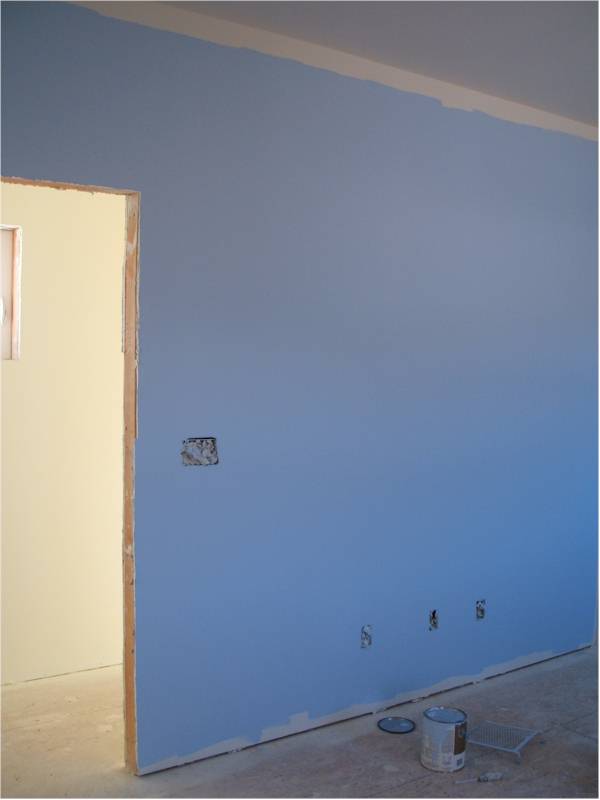
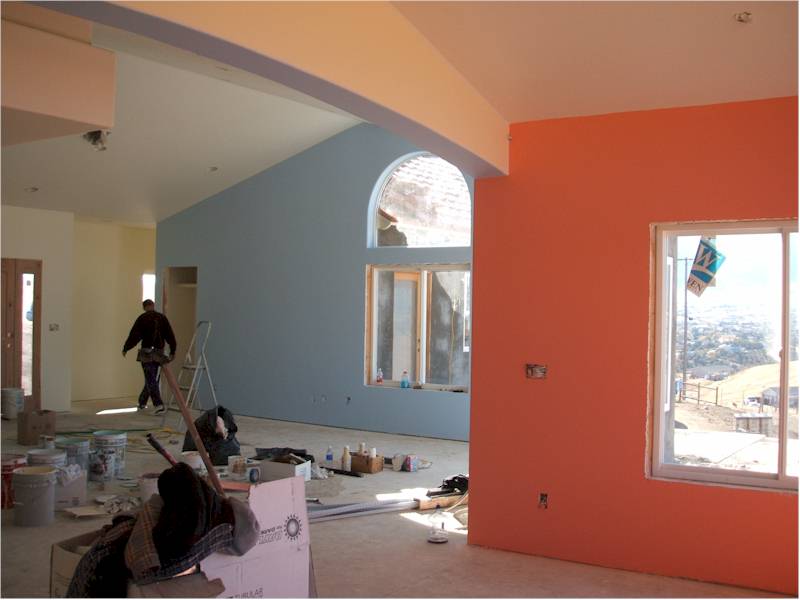
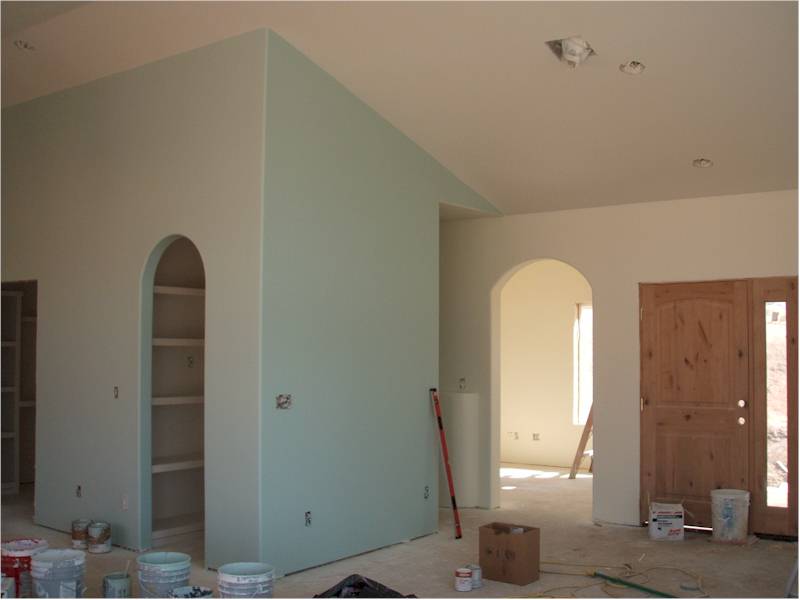
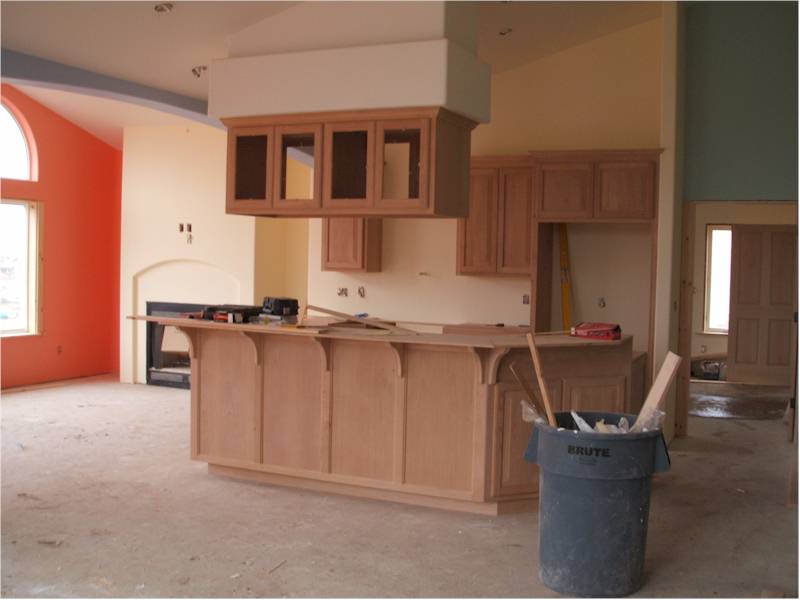
In late October / early November, Daniel started building the shelves in the various rooms and closets, and the painter started painting the skimcoated drywall. By the second week of November, the interior was looking pretty good.

Studio Shelves in Corner
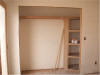
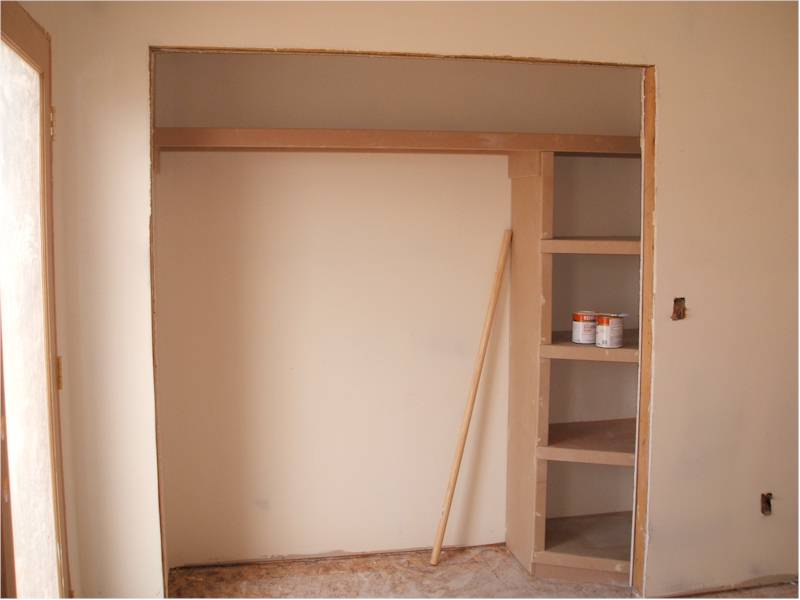
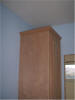
Second Bedroom Shelves in Closet

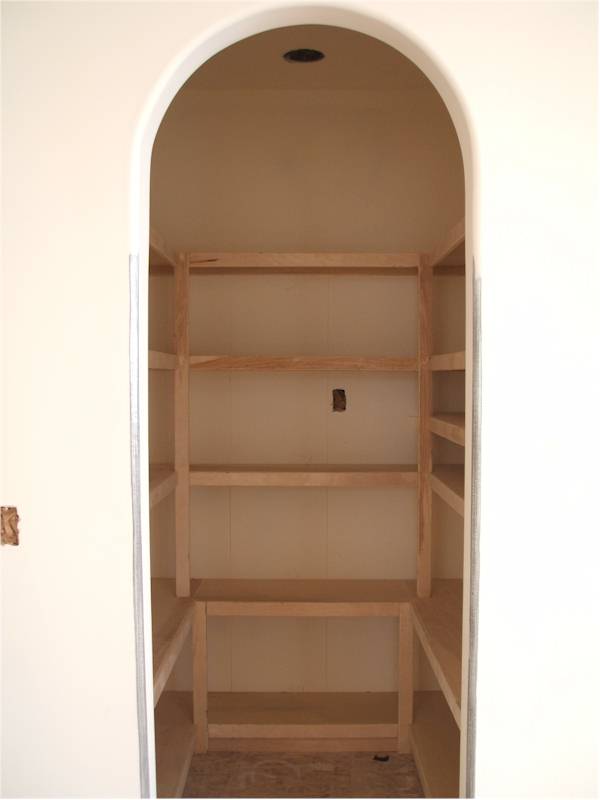
Pantry Shelves
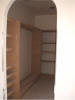
Master Bedroom Closet Shelves
Shelves in Laundry Room

View from inside Second Bedroom out to Hallway

View of Kitchen, Laundry, Pantry from Family Room

View of Family Room, Living/Dining Areas from Family Room North Wall
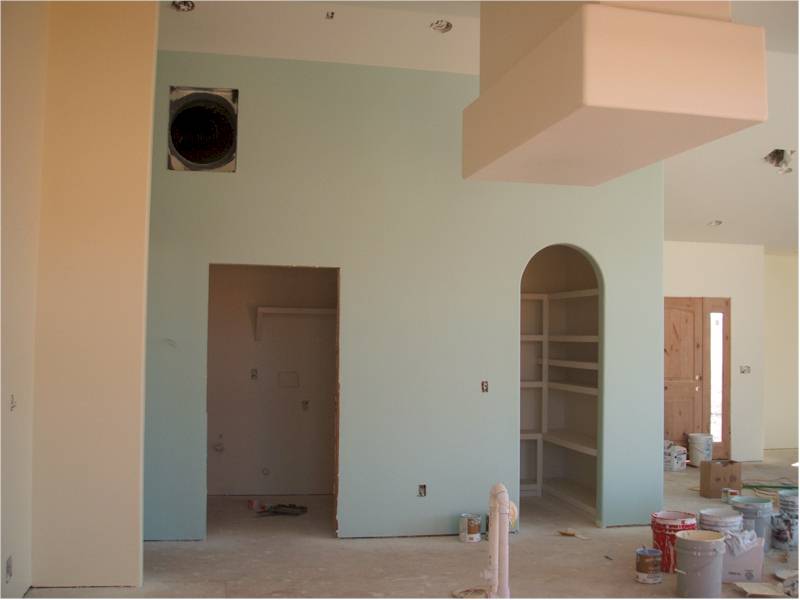
View of Pantry and Office/Front Door from Living Area

View of Kitchen/Family Room from Living/Dining Area
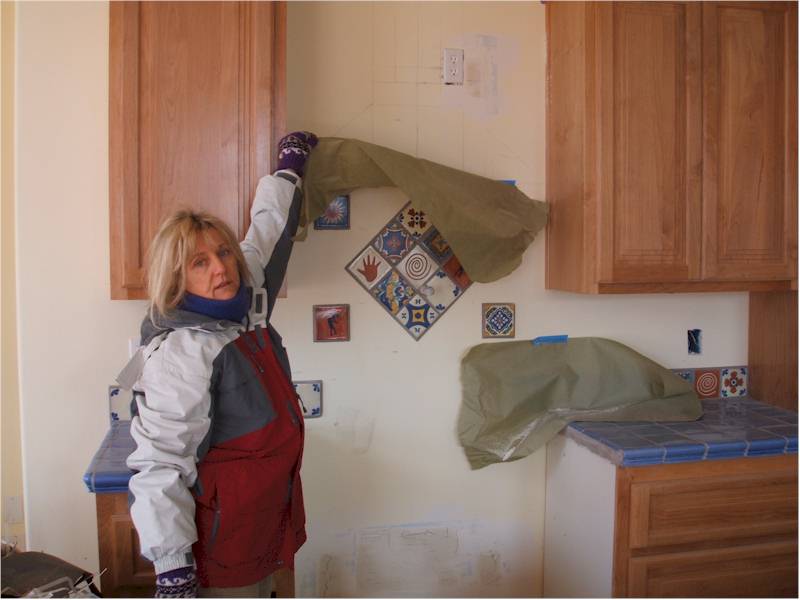
Stucco / Tile Walls:
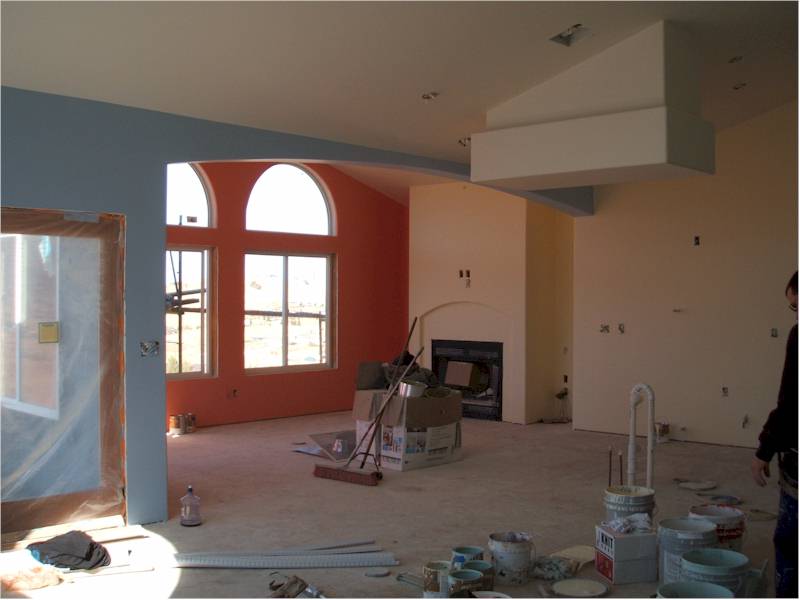
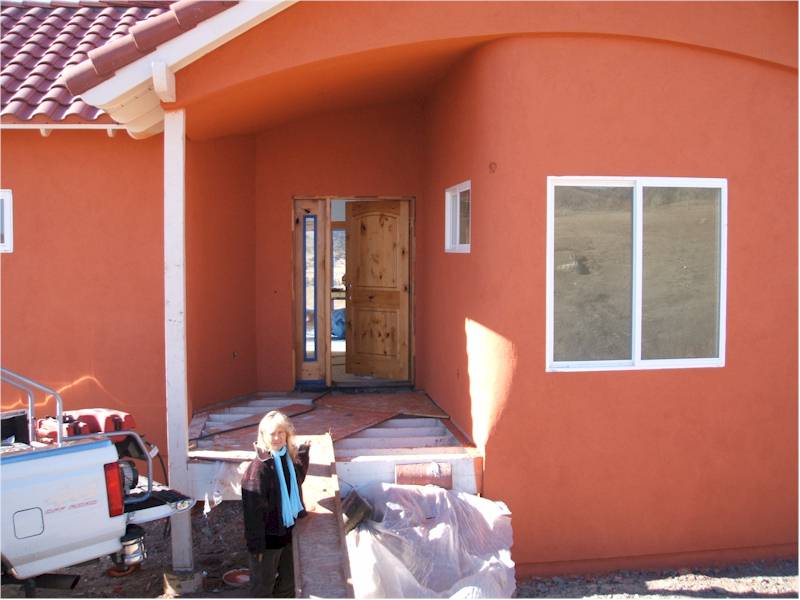
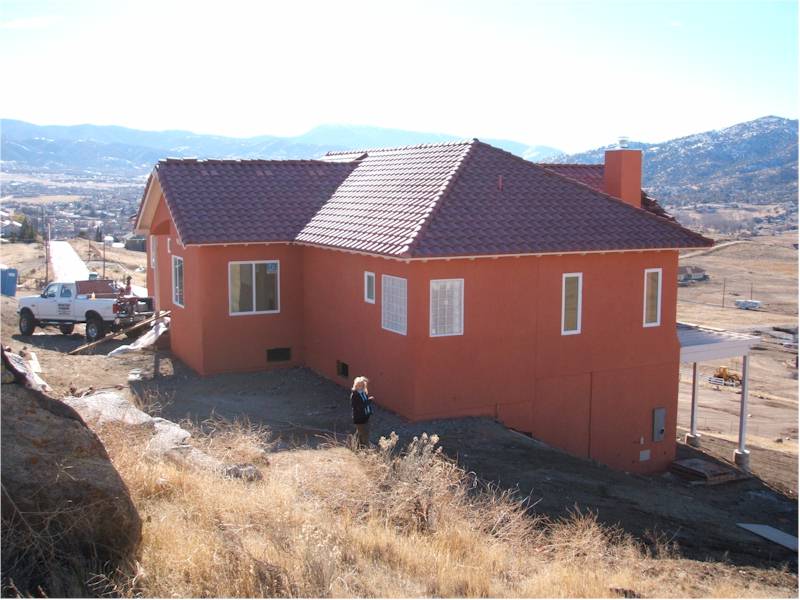
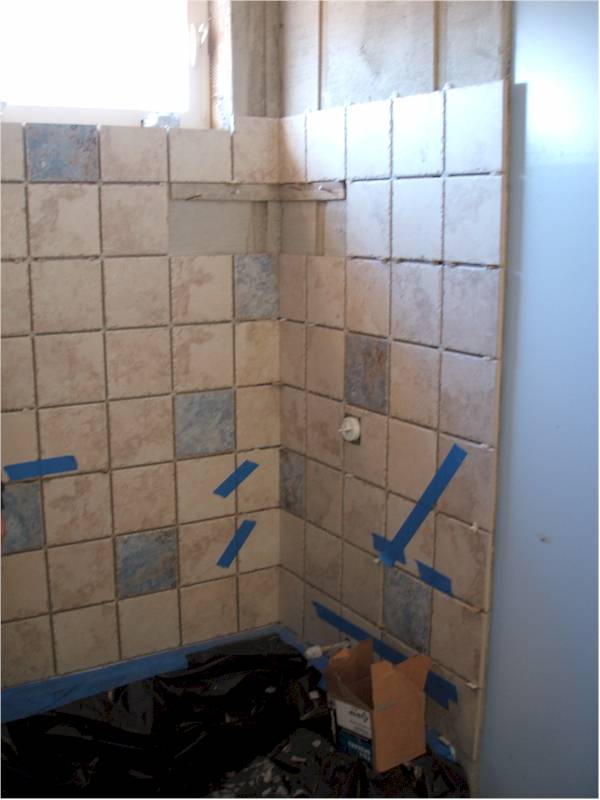
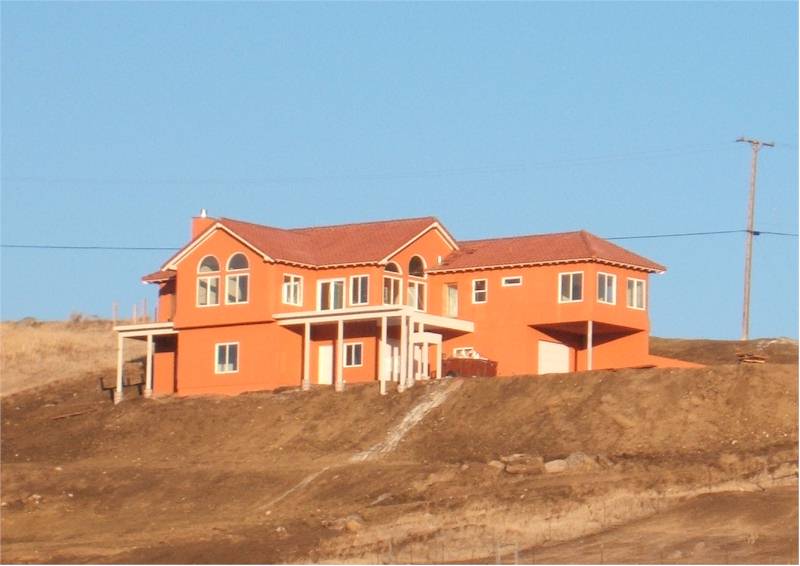
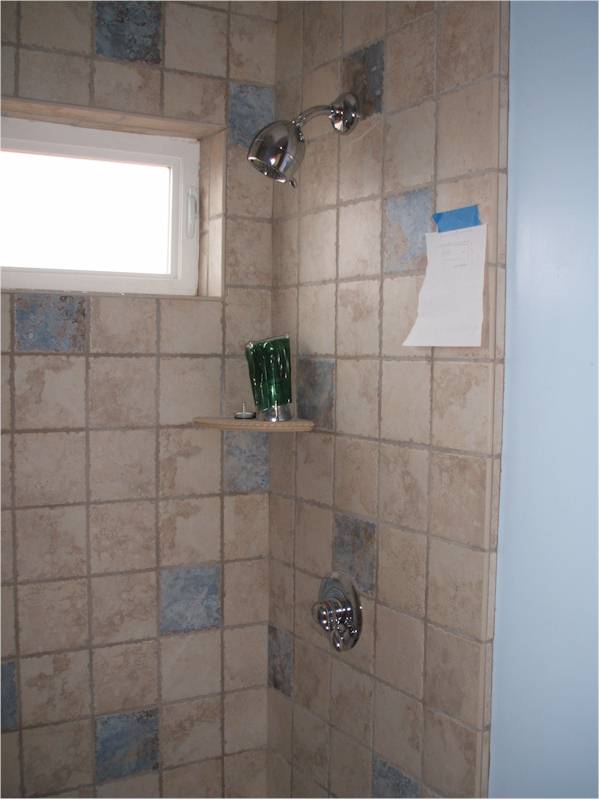
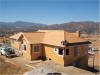
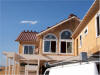
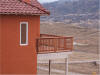
The stucco went on in October/November, with a couple weeks between coats to allow it to cure. The final color/texture coat went on in early December. It's pretty orange, and VERY LOUD, but we like it a lot. The shower tiles started going in the second week of December. All the tile work will be done before the end of the year.

Rough Stucco - view from southeast
Rough Stucco - view from northeast

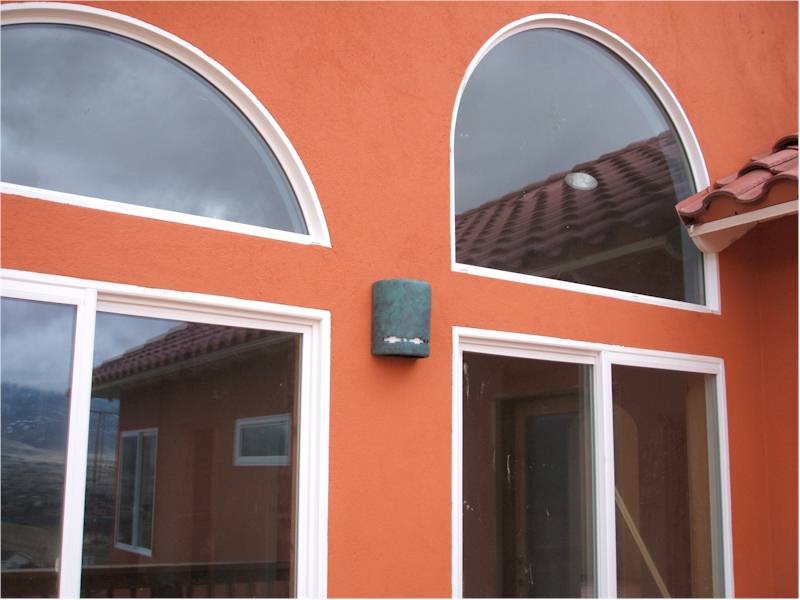
Finish Stucco - Front Door Area
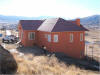
Finish Stucco - view from northeast
Finish Stucco - view from south
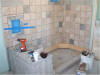
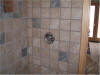
Master Bath Wall Tiles
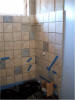
Second Bath wall tiles around bathtub
Deck / Tile Floors / Cabinets:
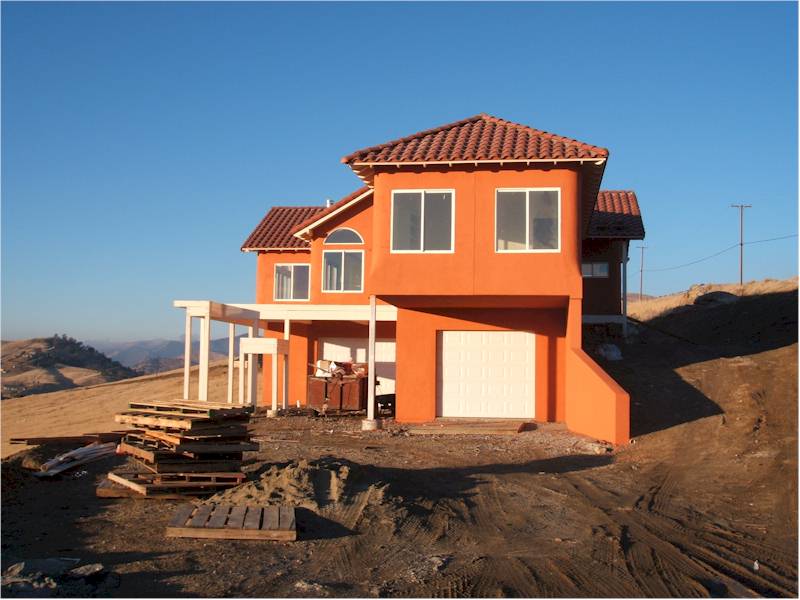
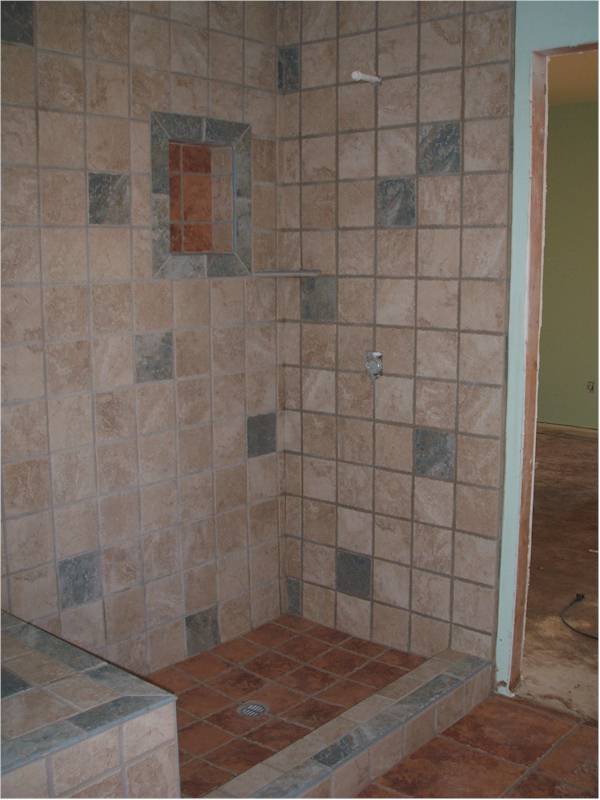
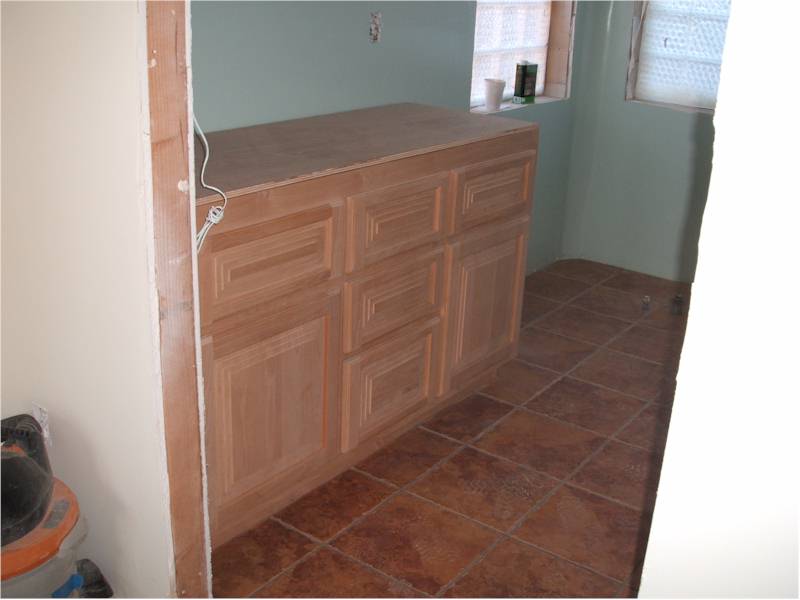
Well, by mid-December, the garage doors had been installed. Tiling, both walls and floor, was essentially done by Christmas, and the bathroom cabinets/vanities/closets had been installed. The decking has been started as well.
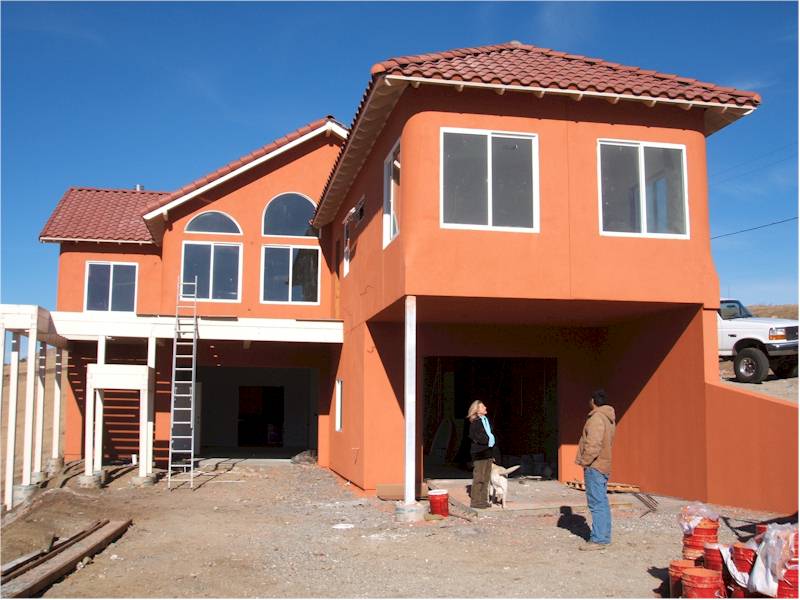
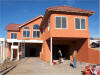
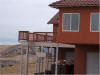
Exterior from Southwest

Exterior from South - Garage Doors
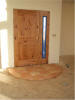
Front Door and Foyer Tiling

Master Bathroom Shower Tiling

Master Bathroom Vanity
Master Bedroom Deck Looking Northwest
Second Bathroom Linen Closet
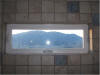
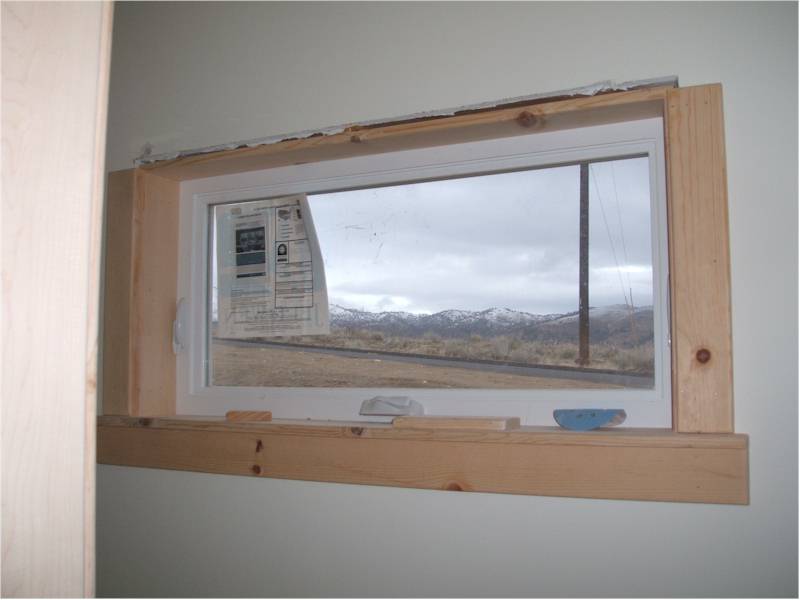
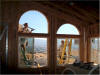
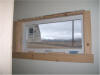
Second Bathroom Window View From Shower
We're still being told that it'll be done by mid-January (we've provided the necessary info for electrical hookups to the electric company, which is about the last thing to happen), but given all that's left to do, I'm banking on early February. We'll give notice at the end of January and be in the house by March 1st, I think.
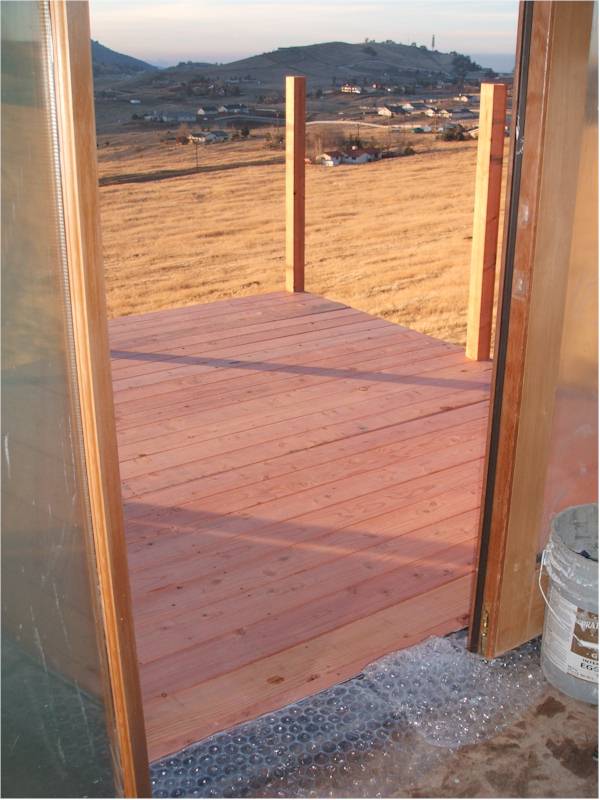
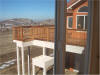
So Mid January has rolled around (January 11th, today), and there's progress, but early February is now the target. Here are some pics of the decks, cabinets, and trim.
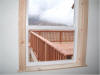
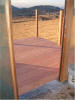
View of Main Deck from Second Bedroom Window
View of Main Deck from Driveway - Stairs not yet installed
Master Deck from North

Kitchen Cabinets - installed but not finished
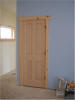
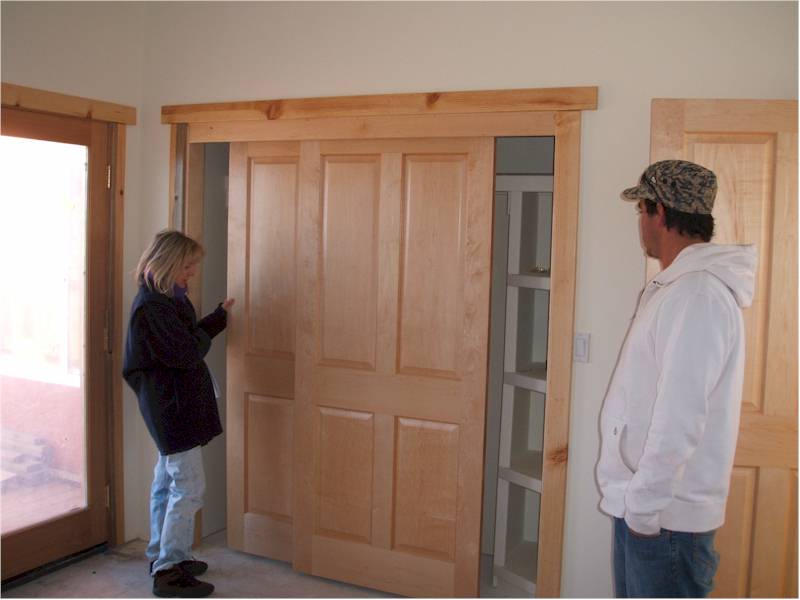
Trim on Front Closet Door
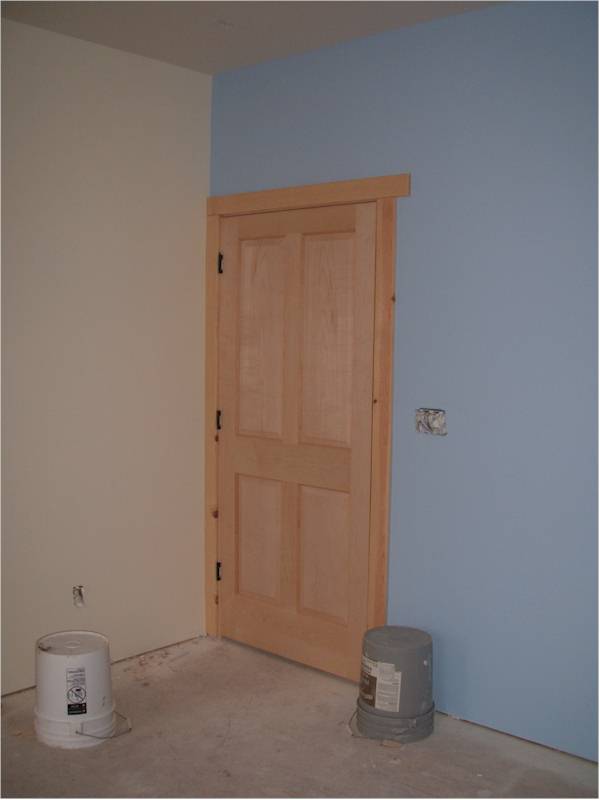
Second Bedroom Door Trim
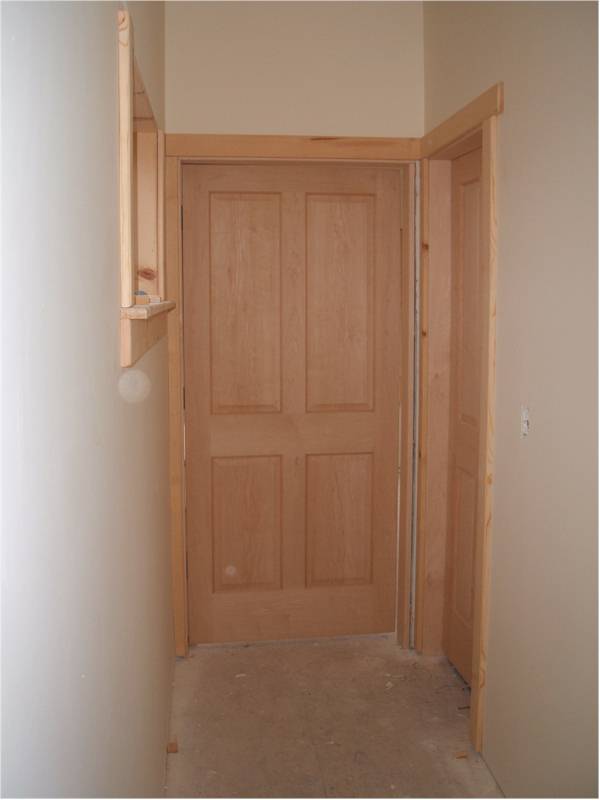
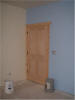
Bathroom and Studio Doors with Trim from Hallway - Studio Door will be swapped for Maple/glass door
Representative Window Trim
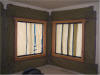
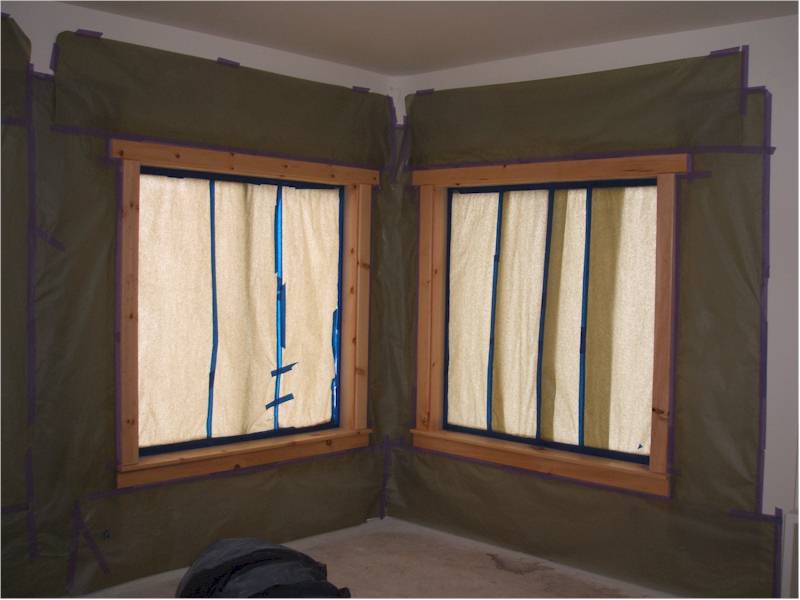
Windows in Studio prepped for Finishing
Progress - but slow. This week (1/14 - 1/18) should complete the laquering of all the interior exposed wood, the Kitchen countertop and sink, and begin the interior finish electrical, HVAC and plumbing.
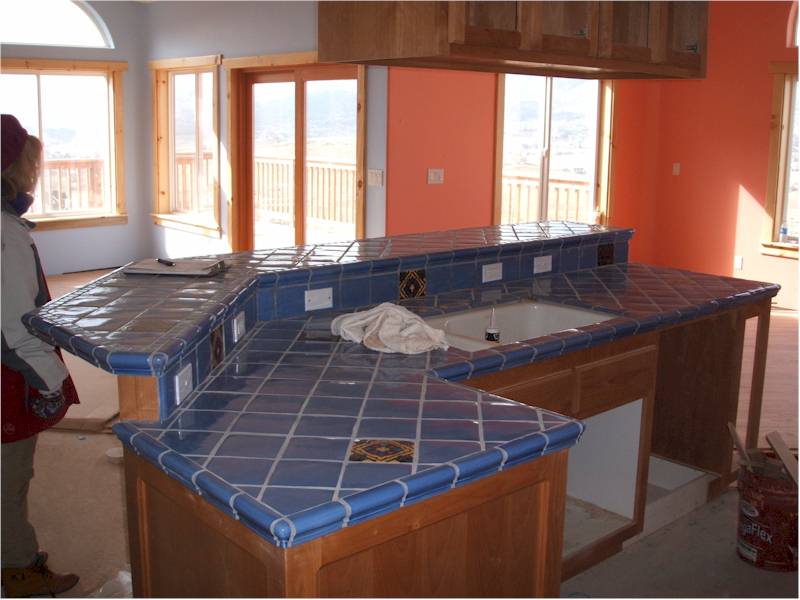
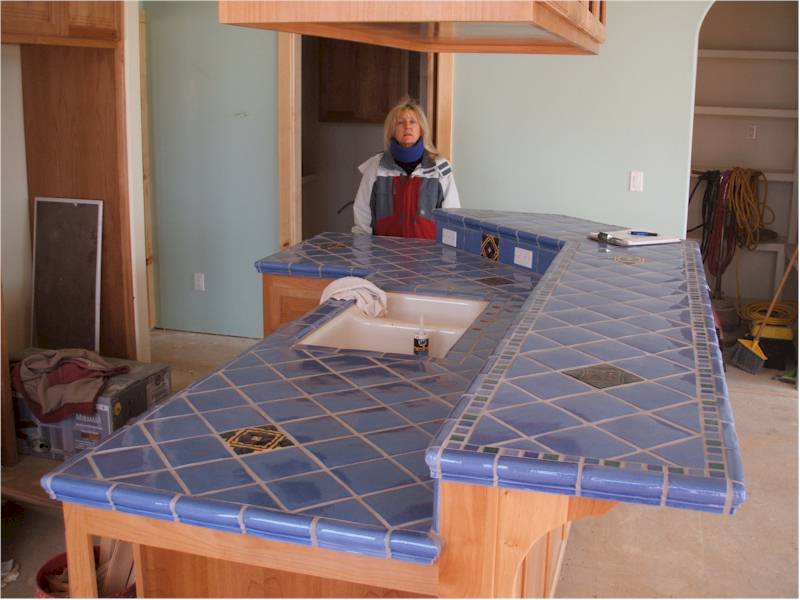
Kitchen Countertop / Wood Floors / Misc.:
Everything goes slower than we could ever have imagined. However, the work is high quality, and the house is beautiful. As the builder (Daniel) keeps telling us, "In six months, you'll be living there and love it, and you'll have completely forgotten about the extra month or two getting in". Yeah, well, maybe.
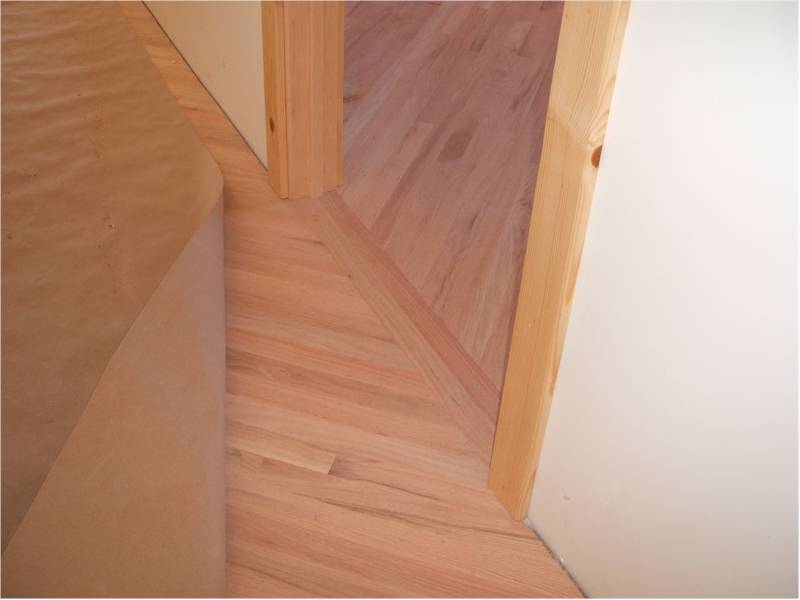
At any rate, by the end of January, the trim was done and the kitchen counter was started. By February 8th, when I added this set of pictures, the kitchen counters were complete and the oak flooring was about 2/3 installed (but not finished yet). These pictures show the finished trim, the kitchen counter, some of the ceiling fans, the tiled fireplace, the finished shower tiling and the floors going in.
We're now shooting for moving in by 3/15/2008, but leaving 4/15/2008 as a possibility if things go even more slowly than we think they will.
View of Main Deck from West Studio Window
View to South from Deck Outside Family Room
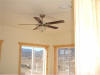
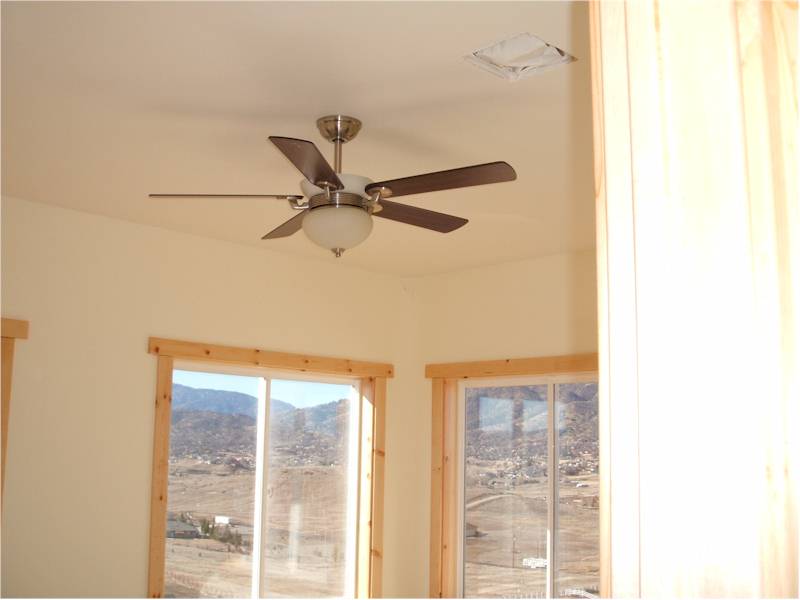
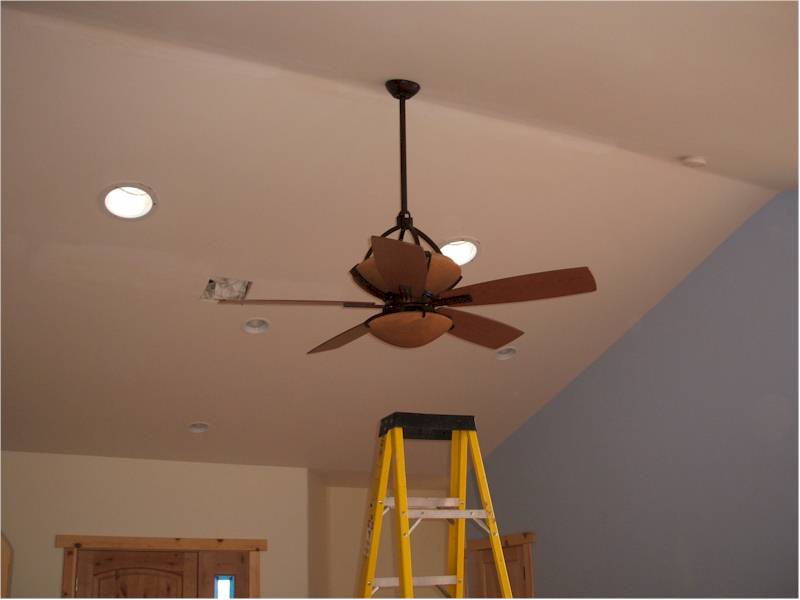
Ceiling Fan in Studio - Same Fan in Master Bedroom

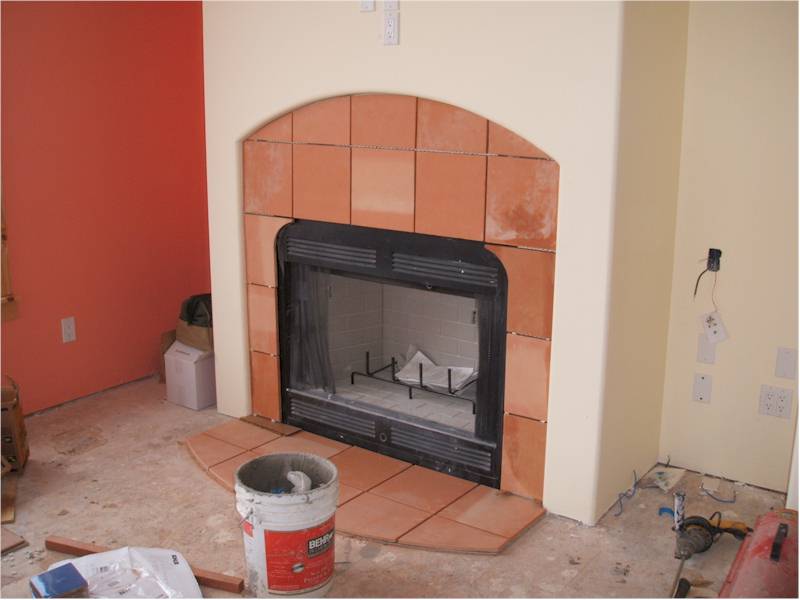
Family Room Fireplace Tiling

Kitchen Island Counter from Laundry Room
Kitchen Island Counter from Family Room

Tiles over Stove - below Vent Hood

Kitchen from Fireplace Area
Master Bath Shower Tiles and Controls

Second Bath Shower
Door and Window Trim - Living Room
Living Room Floor From Family Room
Second Bedroom Closet - great view of Maple Doors and Pine Trim
Second Bedroom Floor
Floor Intersection at Second Bedroom Doorway - See Direction Switch
Again, progress, but slow.
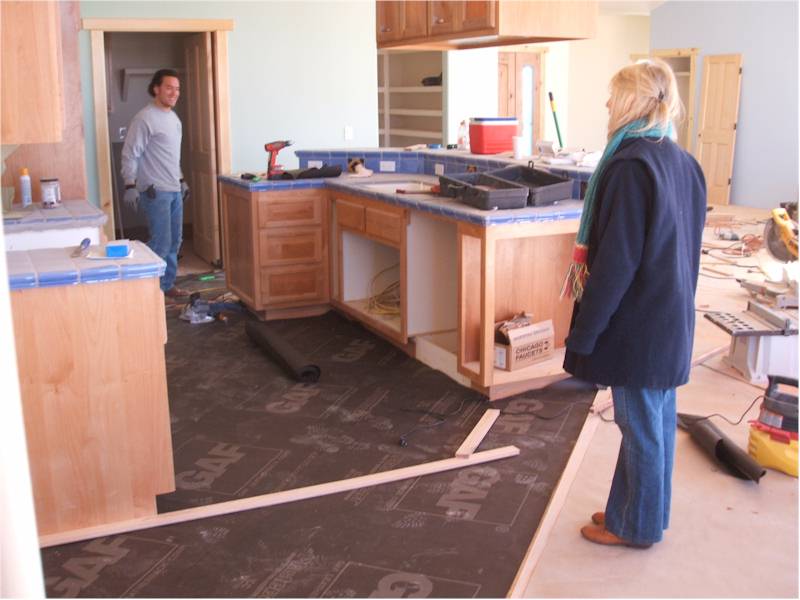
Countertops / Wood Floors / Exterior Grounds / Interior Finishing:
Over the course of the next few weeks (February through March), the bathroom counters and sinks were installed, most of the interior lights were installed, and some of the exterior lights were installed. The floors were finished and the baseboards installed. We spent two weeks moving all of our belongings from the house we were renting at 131 White Oak Drive to the basement at 23501 Fir Drive, in preparation for a 2 week trip to Europe.
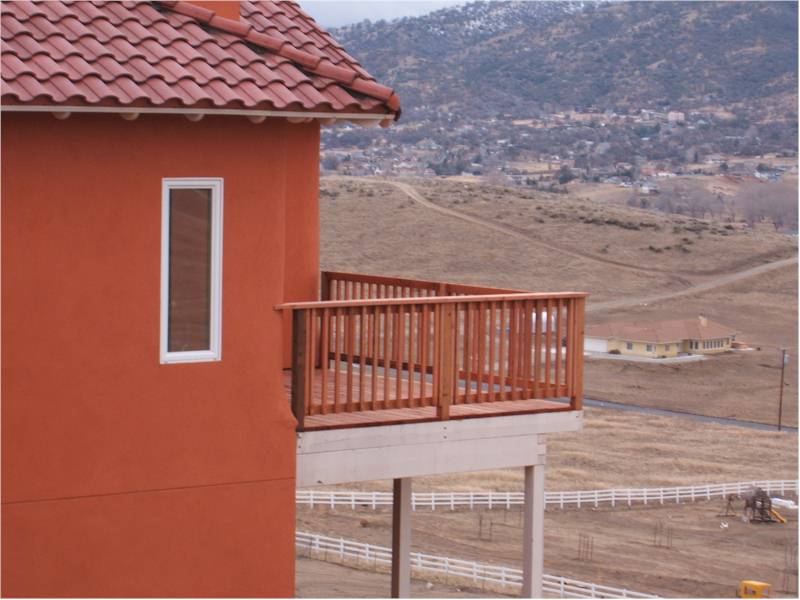
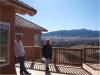
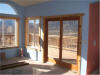
We moved out of the White Oak house on 3/20/2008 and went away for two weeks, leaving Daniel to work on the house. When we returned, the front deck and stairs were 80% done (except for the railings), the rear deck stairs were 1/2 done, and a great deal of interior finishing, of which there seems to be an infinite amount, was done. We stayed at a friend's house in Bear Valley for three nights, and then finally moved into the Fir Drive house on 4/10/2008 and slept there for the first time. This is about what it looked like at that time:
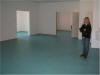
Deanie in the pristine basement prior to us putting all our crap there.
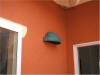
One of the two types of exterior deck lights

The other type of deck light
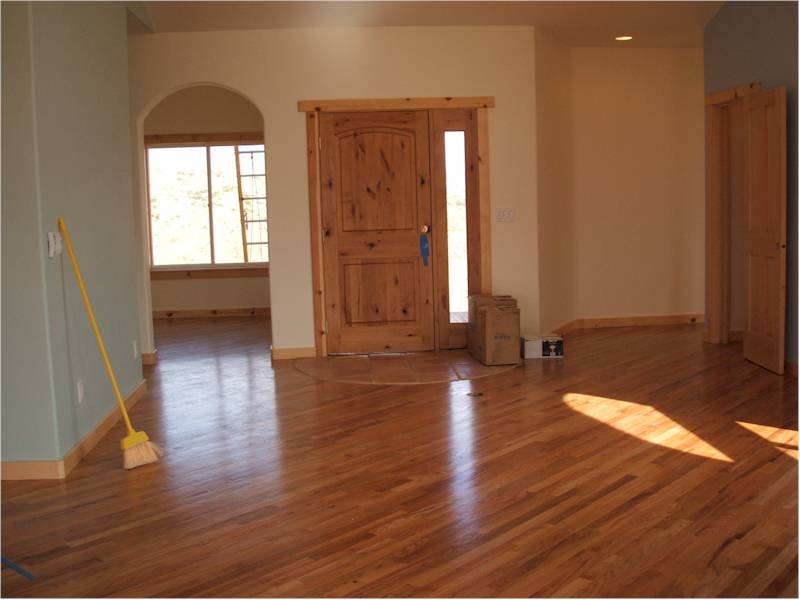
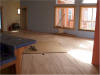
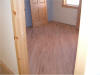
Finished hardwood floors, looking toward front door and office area to the left of the front door
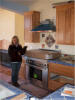
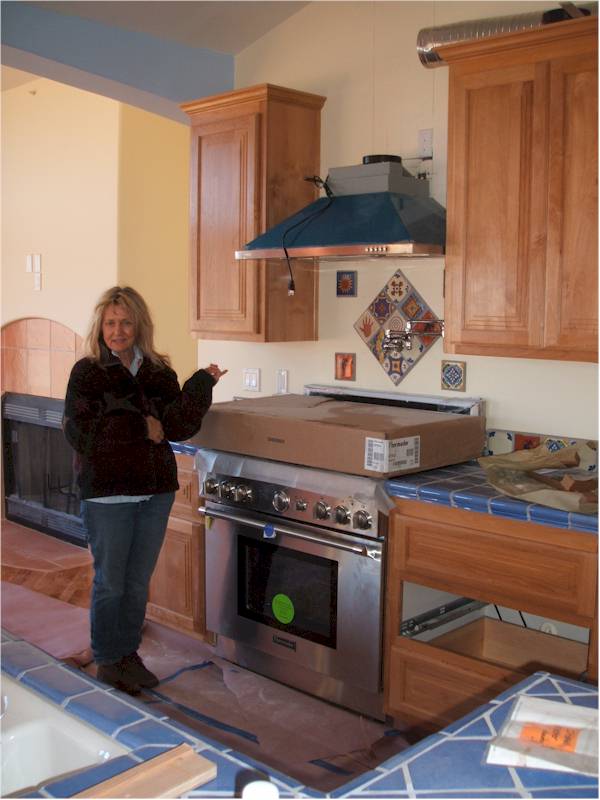
Deanie in kitchen near stove and 1/2 finished vent hood
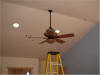
Living room fan being installed

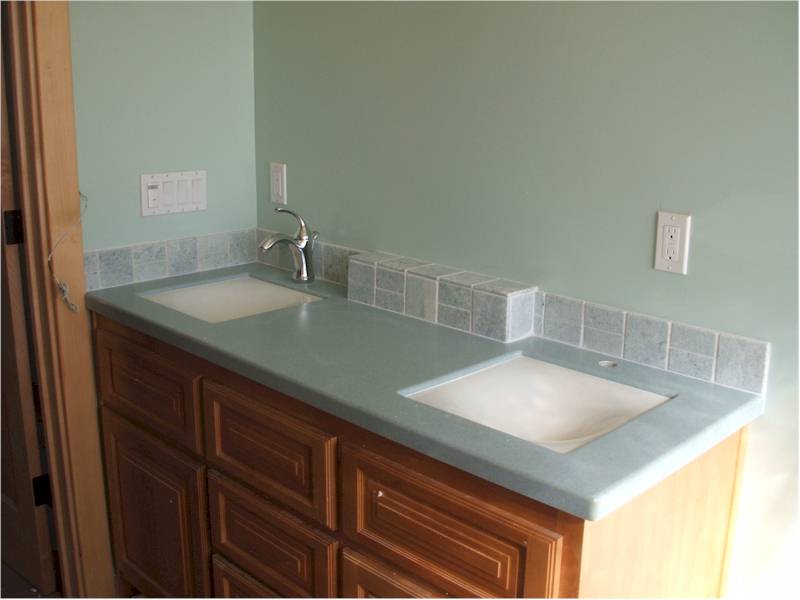
The finished Master Bath vanity, with backsplash tiles

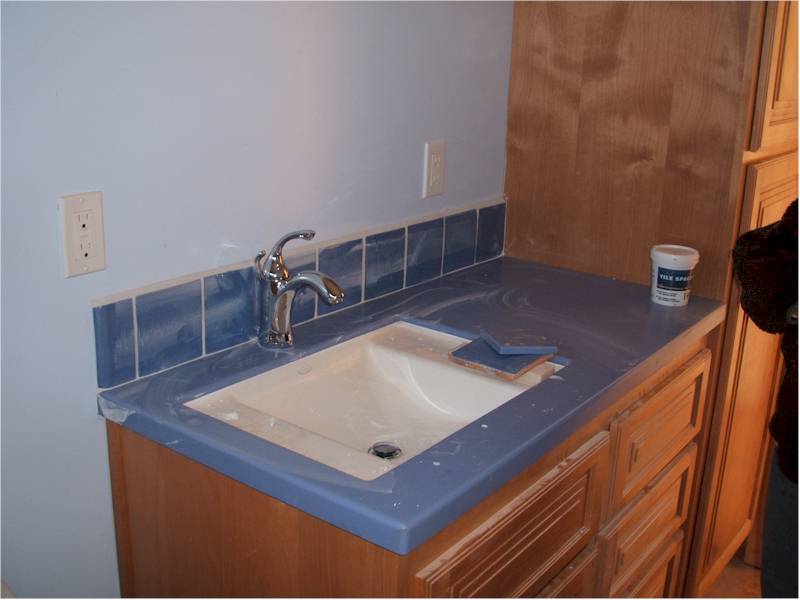
The second bathroom vanity with backsplash tiles
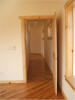
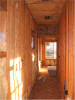
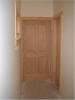
Finished floor in the studio and hallway, looking toward the front door.
There's still a LOT left to finish up, but the electricity is on, the stove works, the heat/AC works, and every day, a bit more gets done. Still left to do as of 4/11/2008 are the Master Bath Bathtub, Some interior and exterior outlets, switches and lighting, Driveway, Front Stair railings, Deck Stairs, Family Room shelves, minor repairs to some kitchen cabinet doors, etc., etc., etc.
The Rest:
So, after we moved in and started bringing all our stuff up from the basement, I made up a punch-list of all the things (both interior and exterior) that still needed to be finished. Some were large and some were small. There were a total of about 100 interior items and 35 exterior items. We found that having an explicit list that the builder agreed needed to be finished helped him to focus. Daniel and his crew and sub-contractors worked their way through 95% of the items on the list over the next 3 1/2 weeks, taking breaks every now and then but showing up to work on stuff at least 1/2 of the time. Having a "hold-back" amount at "substantial completion", which was defined as "when we could move in", certainly helps to motivate the builder, since I'm holding back twice the amount that we estimated it would cost me to have someone else finish the work.
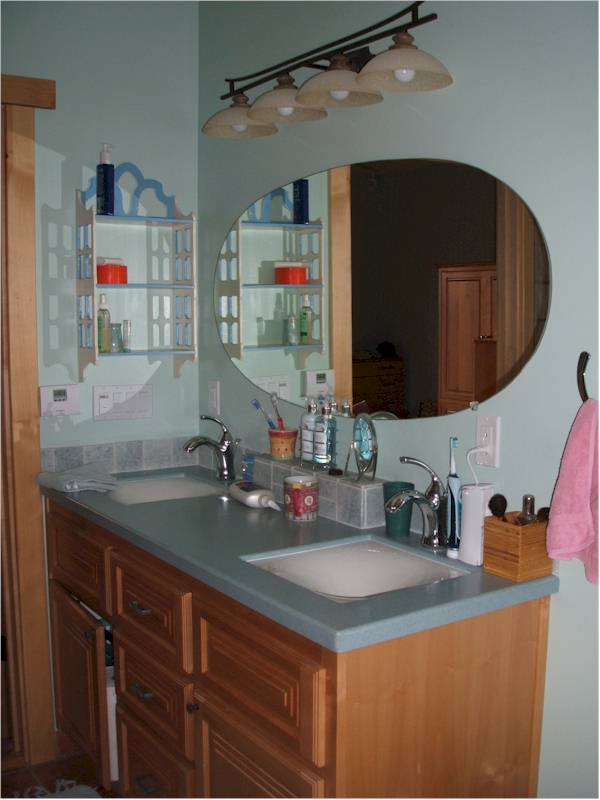
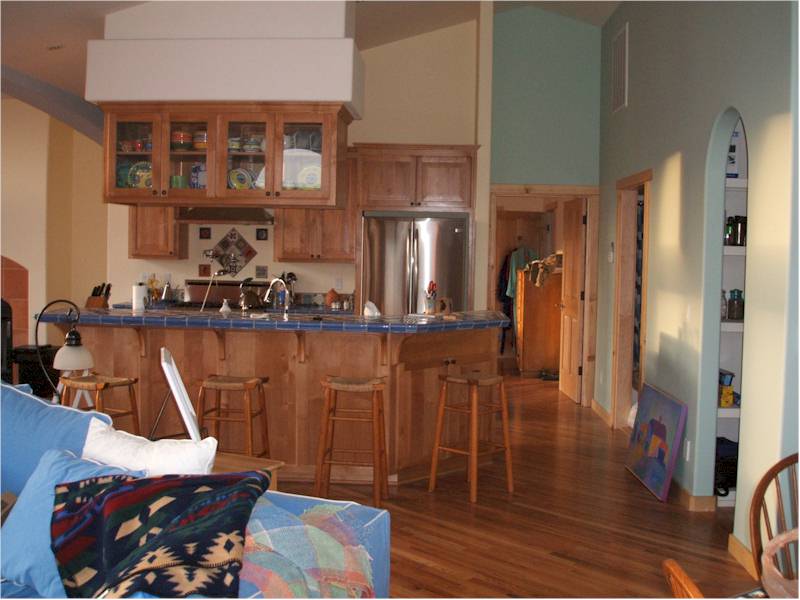
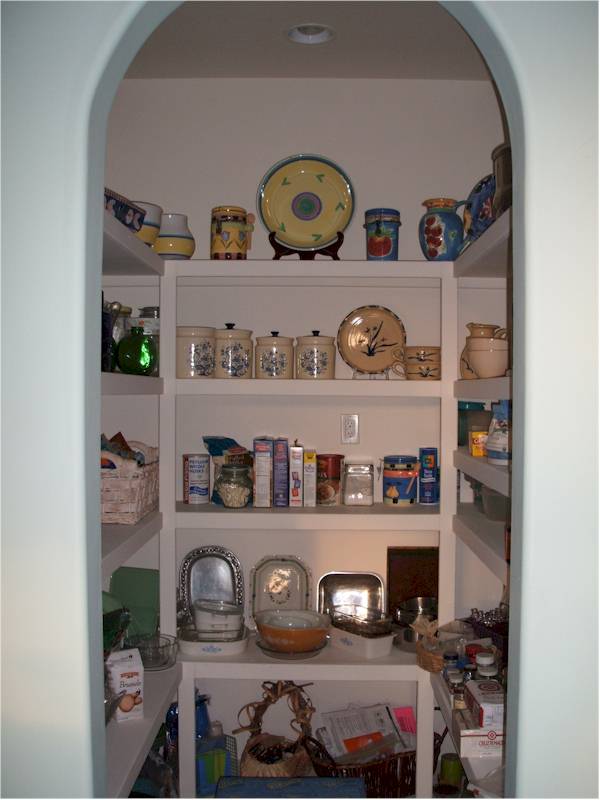
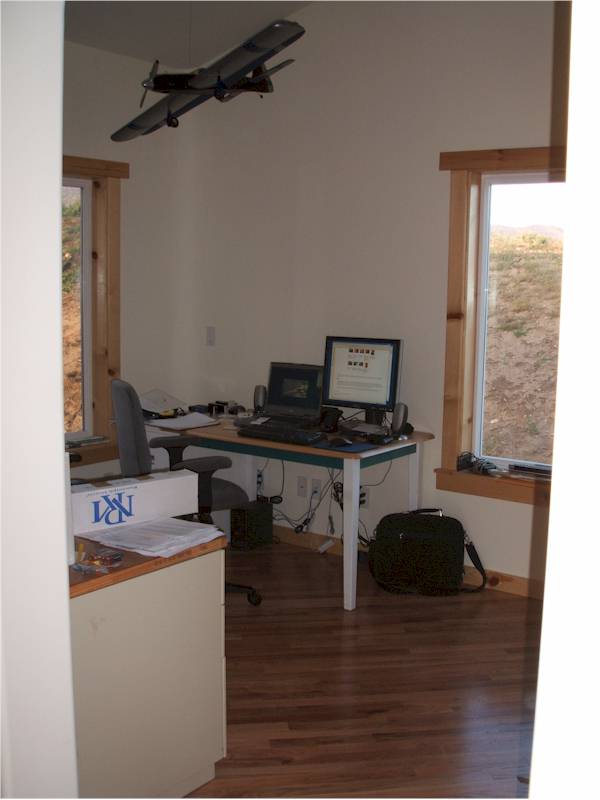
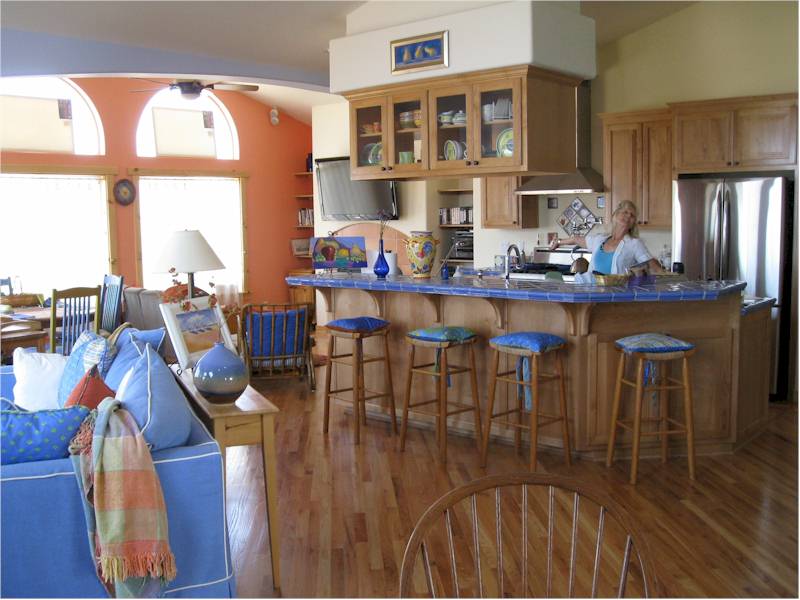
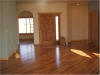
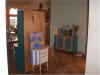
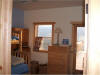
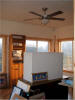
As of 5/12/2008 we've been in for about four weeks, have gotten about 3/4 of the furniture set up, and have just about all the infrastructure done - at this point, almost everything left to do is cosmetic (put up pictures on the walls, put up a few towel racks, put away random crap, etc.). At any rate, here are pictures of the (semi)-finished rooms.

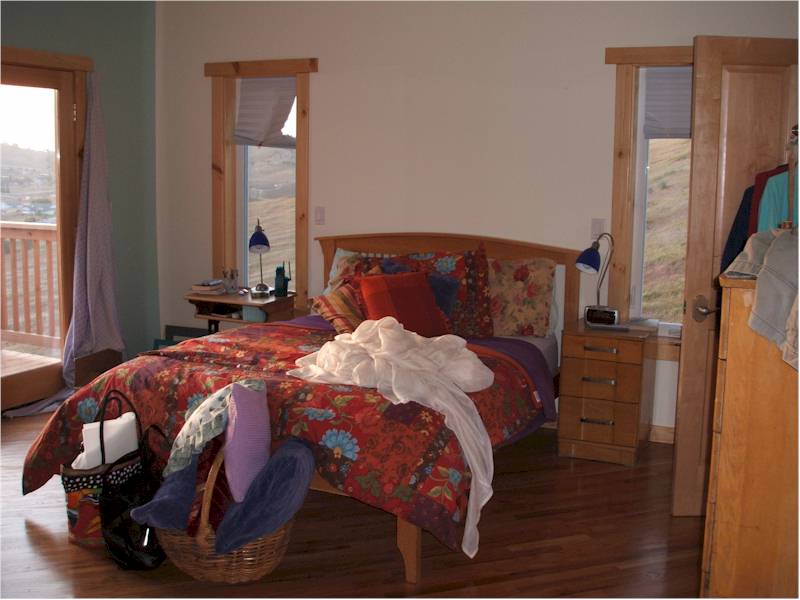
Master Bedroom - looking north toward bed
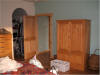
Master Bedroom looking toward door and closet from bed

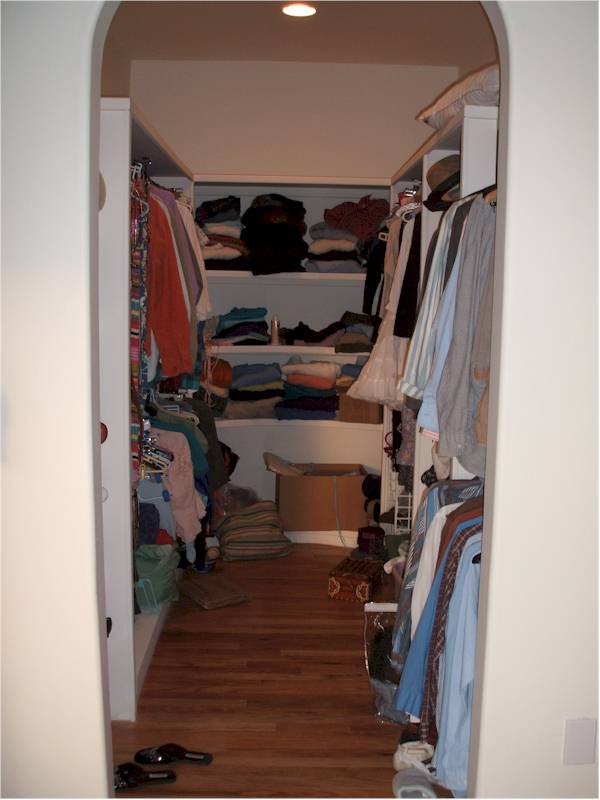
Master Bedroom Closet
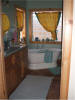
Master Bath from doorway

Master Bath vanity from toilet
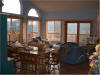
Dining / Living area as seen from entry/office
Dining / Entry area from Living area
View of entry area from hallway

View of Kitchen from Living Area

Pantry

View of Office from Entry Area
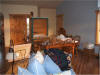
Second bedroom from doorway
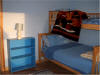
Second Bedroom from deck door
Studio from doorway

Small Basement / Garage Bay with remnant of stuff stored downstairs
Deanie and I need to thank my mother a bunch for staying here for a week and working tirelessly with Deanie to help set up the Master Bedroom, Kitchen, Laundry Room, Pantry, and innumerable other stuff.
I think this is about it - if you want to see more, or see it completely finished, or if you want to see the exterior, you'll just have to come out to visit.
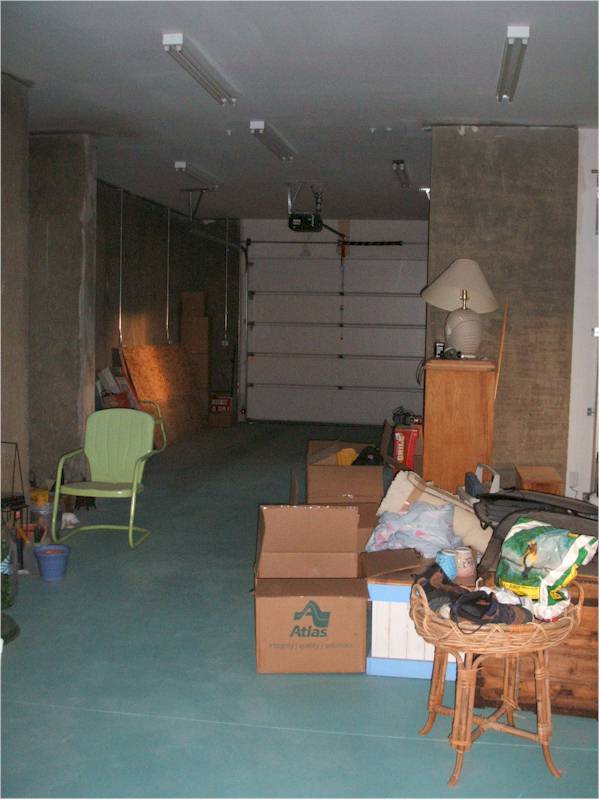
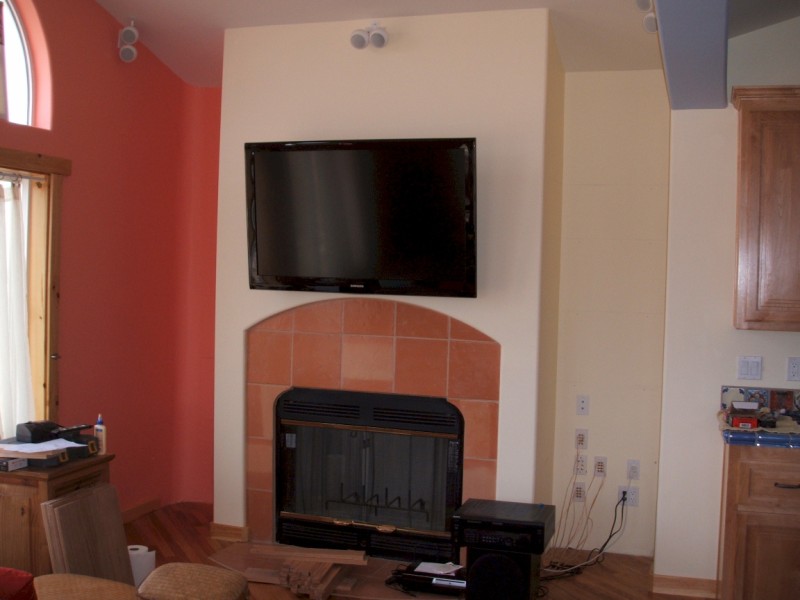
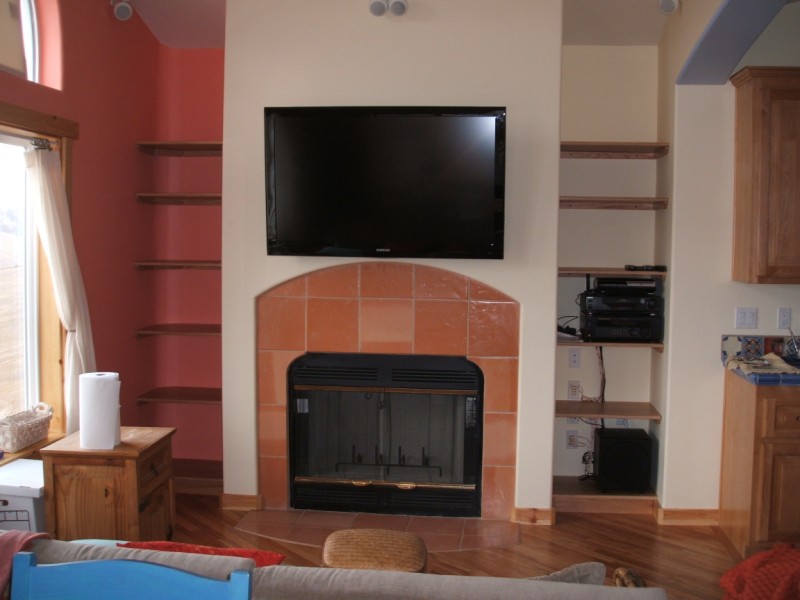
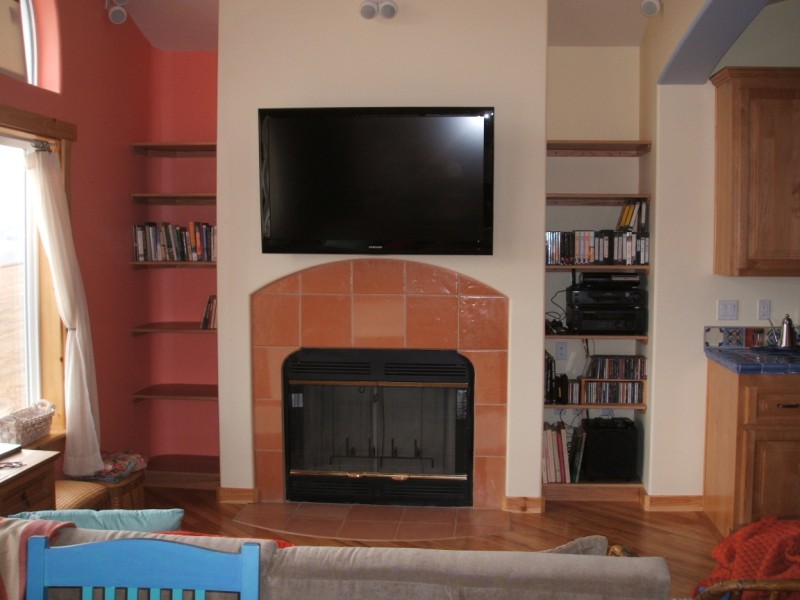
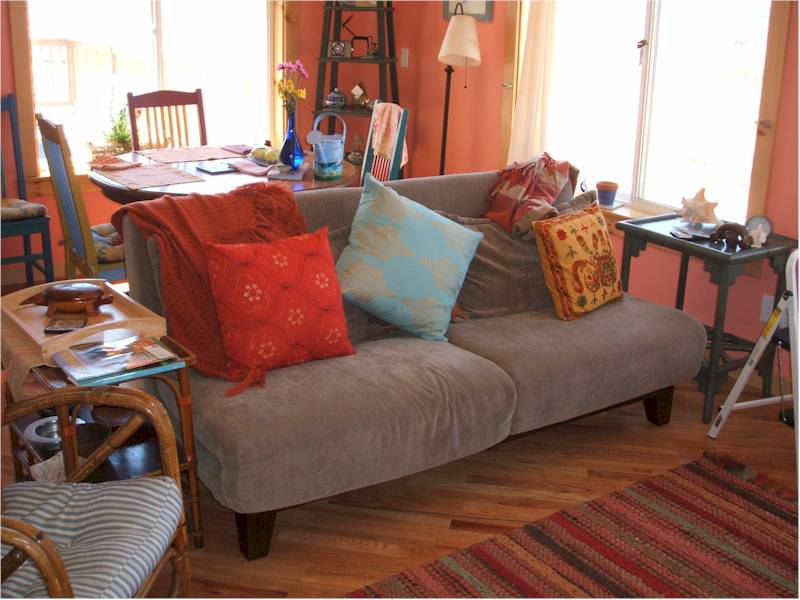
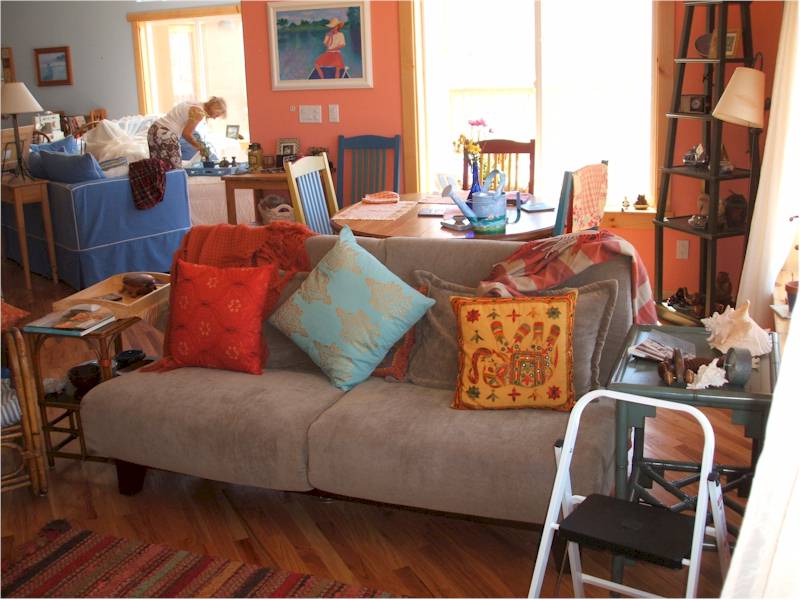
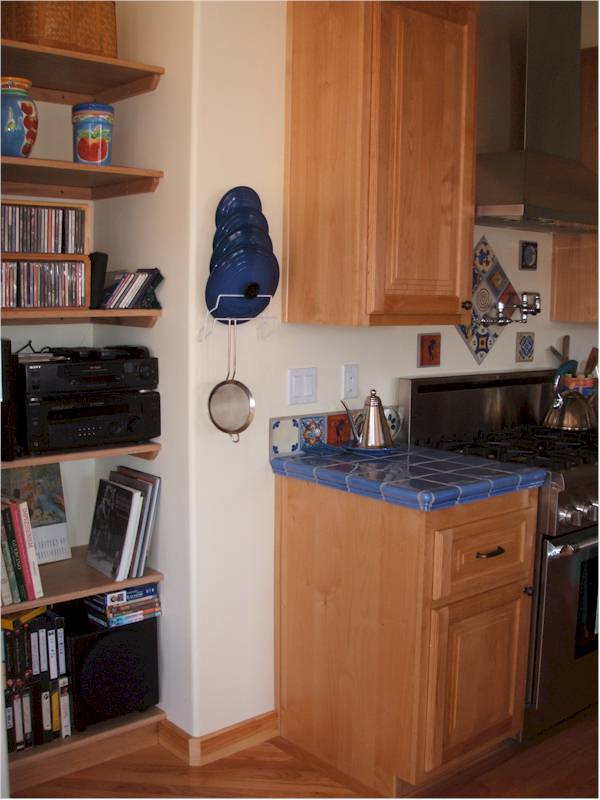
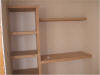
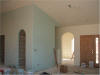
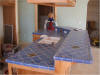
Well, one of the things that we had asked our builder to do as an "extra" was to build a set of simple shelves on either side of the fireplace/TV wall. Not surprisingly, like just about everything else, this got delayed, and with no determinate date for the start of the shelf building, much less their completion, I decided to do them myself. I bought a bunch of oak and some clamps, cut out the shelves and the support rails, and screwed everything to the wall. Now the stereo and books have something to sit on. Here are some shots from before and after. I've also included some shots of stuff in the family room and other miscellaneous post-build pictures:
|
|
|
|
|
|
|
|
|
|
Return to: Zeitlin's Page
Copyright © 2007 - 2008, All Rights Reserved, Marc J. Zeitlin
Last Updated: August 31, 2008